My hope is that this is the final major renovation to the garage space in Wellfleet. The biggest challenge was figuring out how to get a building permit without dealing with the zoning board. That was accomplished by scaling the project back a bit and just using the existing space available. The deck “room” would utilize the existing deck space, an eight by twenty foot area, and we would add a structure around the existing stairs, rebuilding the stairs of course, and thereby providing a single entrance with access to both the street level and second level areas.
All the work is being done by Skyline Homes of Cape Cod
This project has been on the drawing board of my mind for about ten years. Since the original use for this property has radically changed over the years, I decided that it would be better to add some valuable space to the garage loft apartment. When this project is done the expanded footprint will provide a better living space, as well as a sheltered entrance and exit during foul weather, especially winter snow.
9.17.26
As of today much has been accomplished on this project. The deck room floor, walls and roof are in place with window openings for four 60×54 rolling casement windows. The stairs are in, and the stairway roof line (shown below in the 3D model) has become a reality and will be framed next week. All is moving along as planned.
9.29.26
This week Skyline is finishing enclosing the stairway. There will be an exterior entry door at the bottom of the enclosed stairway (yellow exterior door sans window in 3D drawing), and an interior entry door to the deck and second floor apartment at the end of the top landing (brown door at the top of the stairs at the end of the landing). Last week they added another footing to reinforce the roof where it changes pitch about half way down the stairs. Today they added the framing for the roof and the upper landing, and boxed it in with plywood. Moving right along.
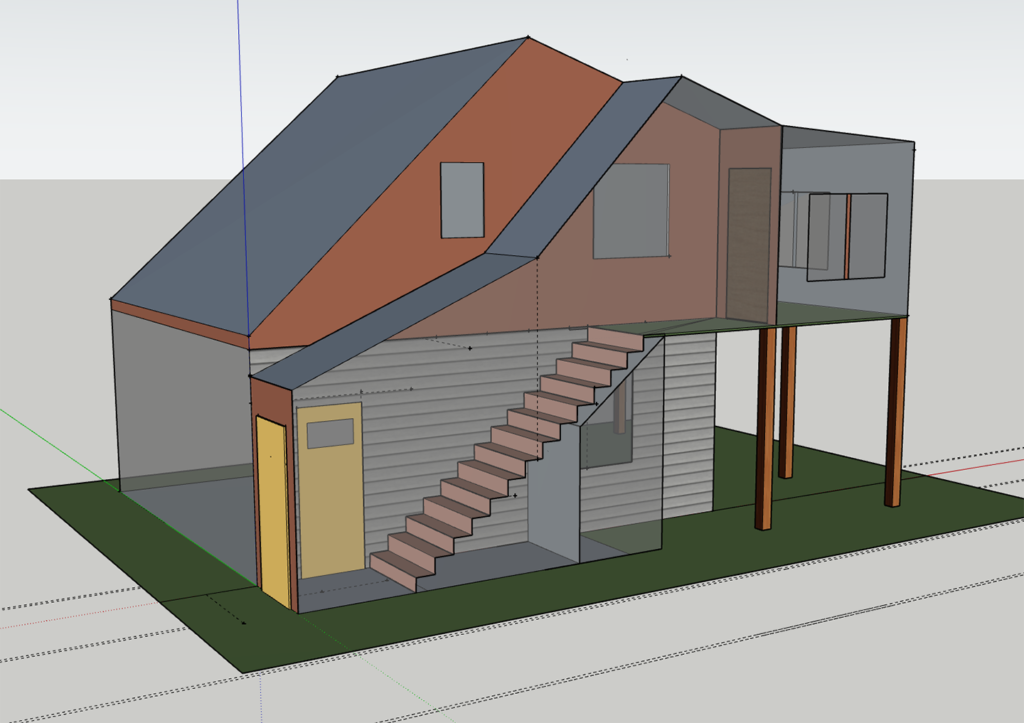
This is a simple 3D sketch of the stair side… 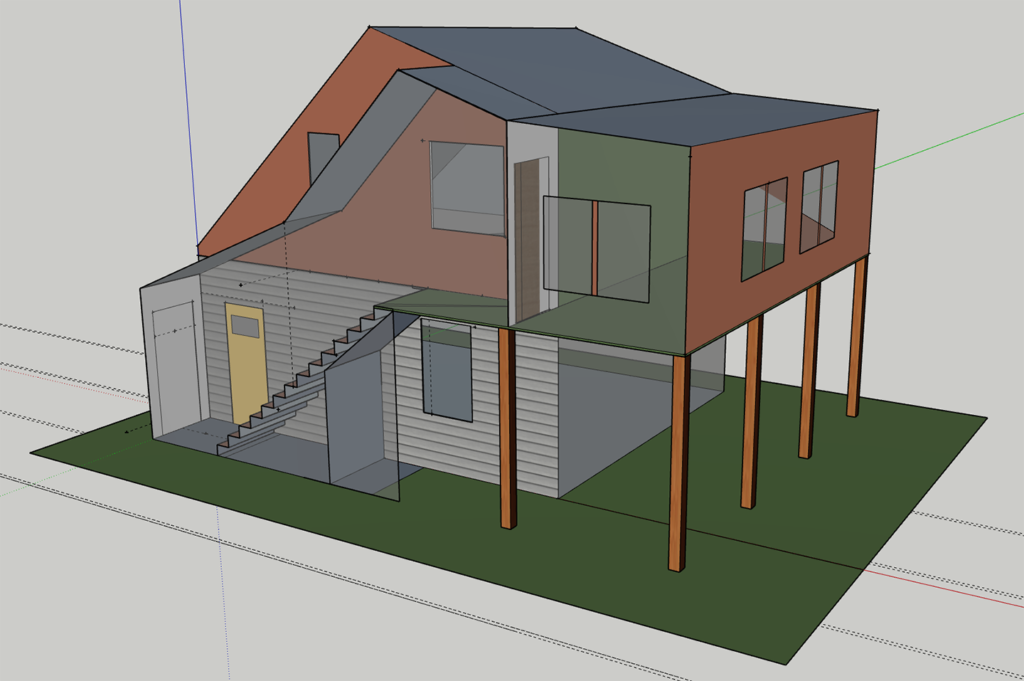
… and this model shows both the stairs and the enclosed deck 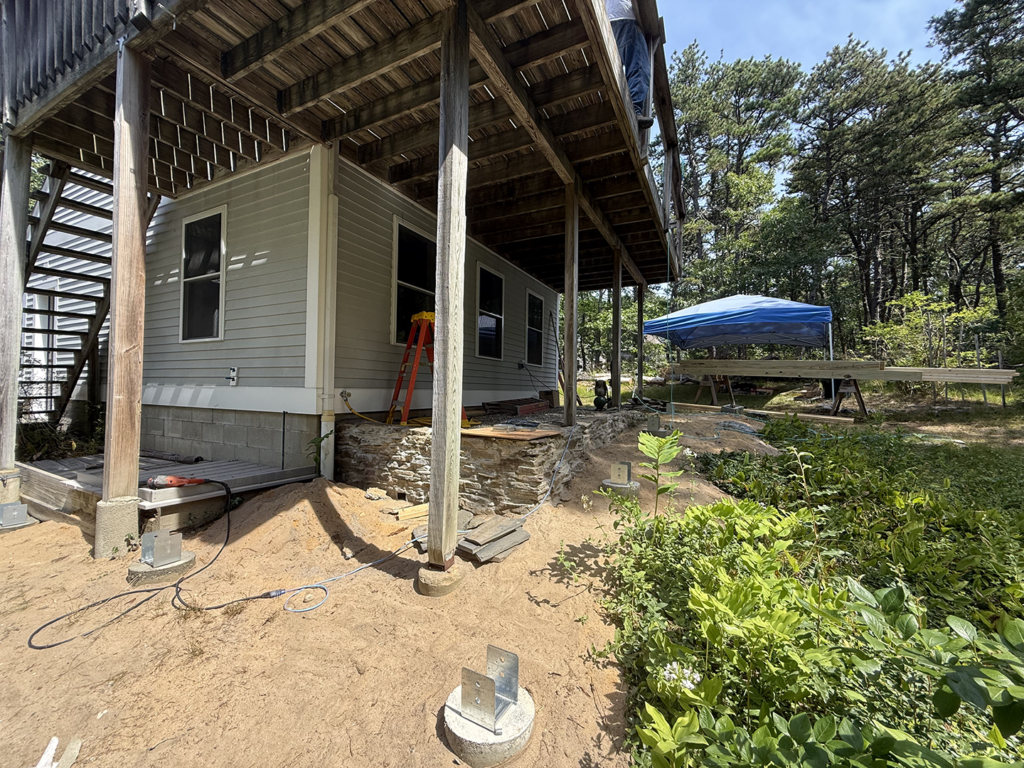
8.3-7.26 – The first step was to install concrete footings; four along the back of the deck 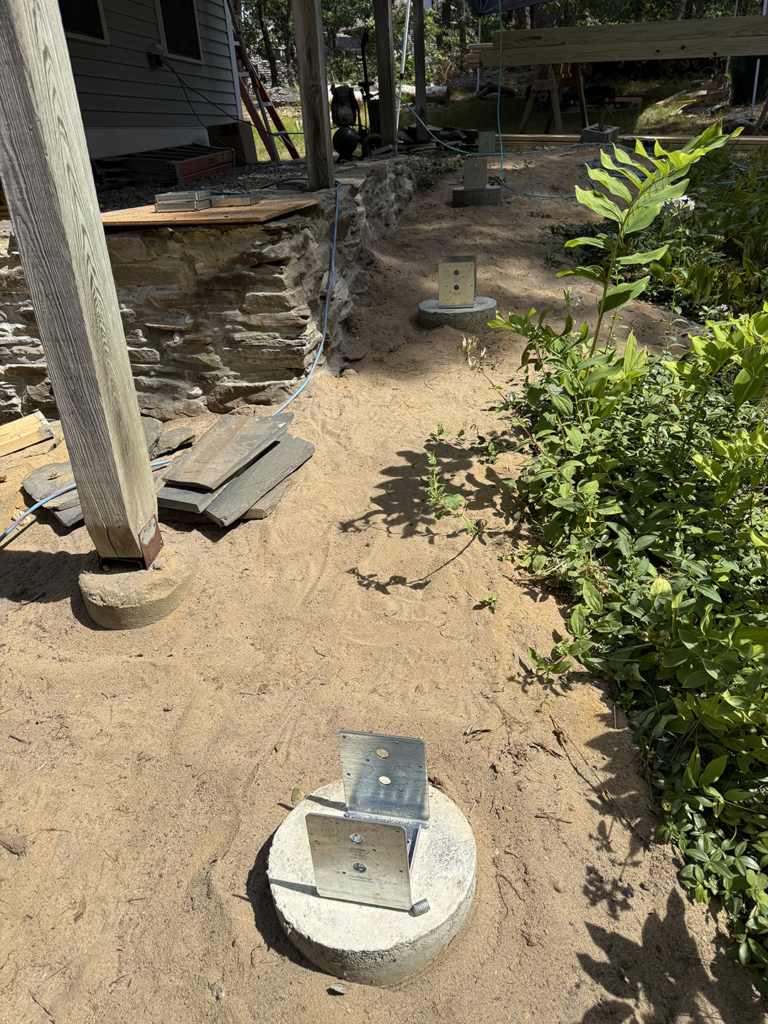
With the final deck footing further out to better support the deck and roof… 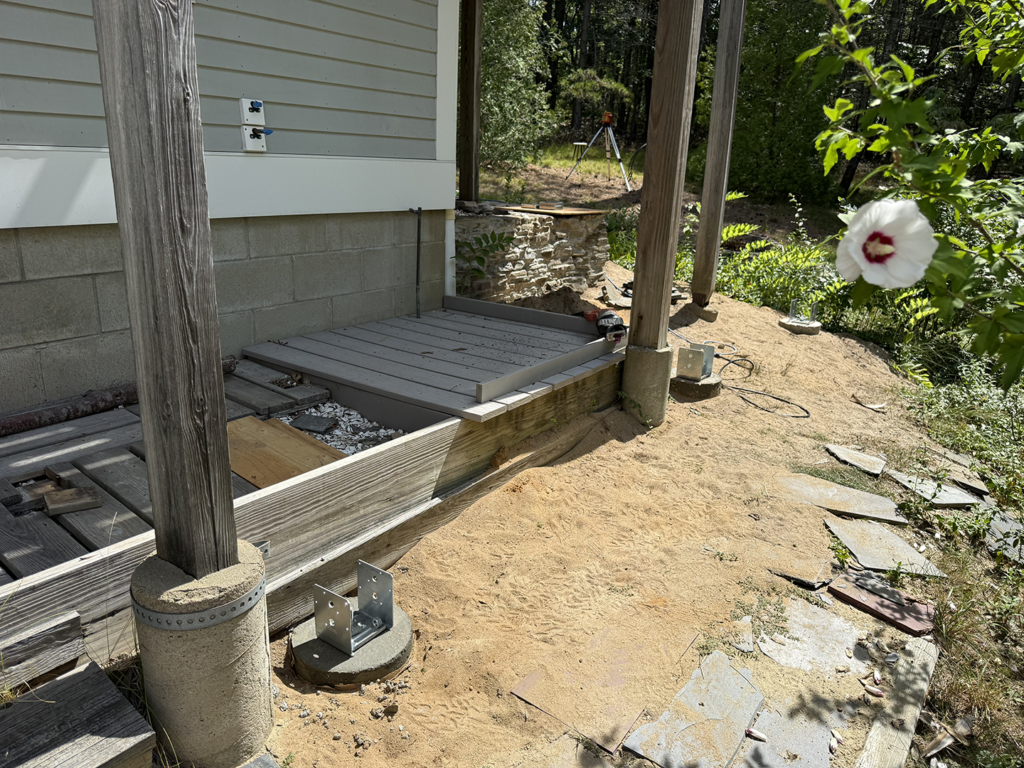
… and two to support the new stairway and the structure surrounding them 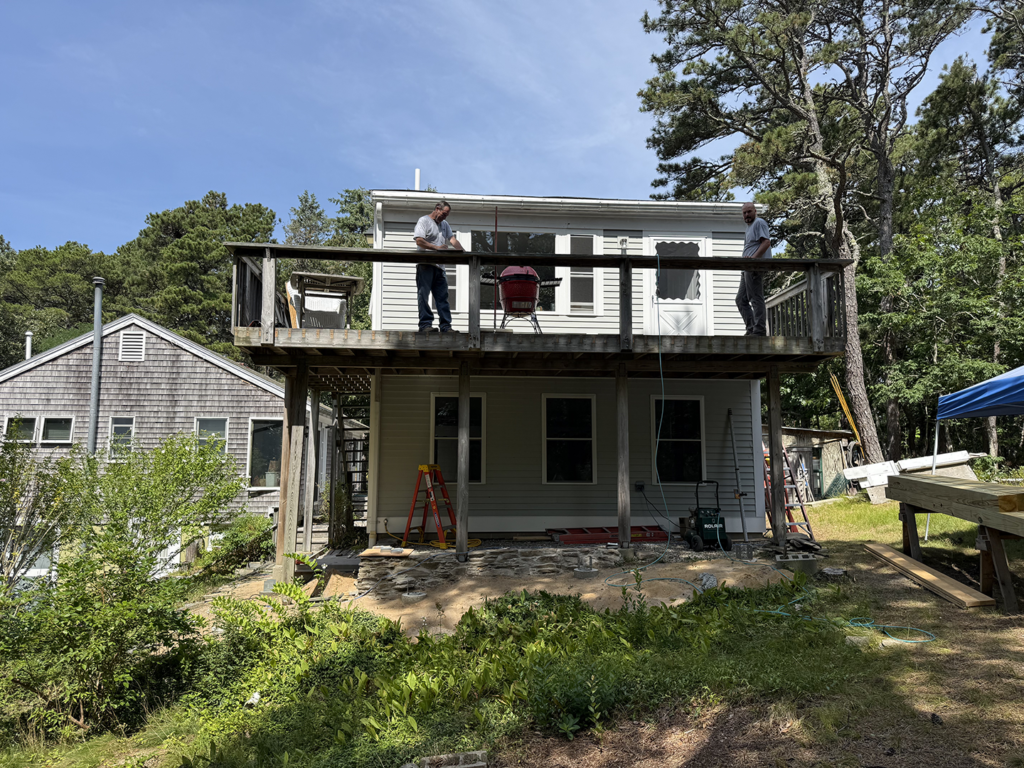
8.20.26 – Construction begins 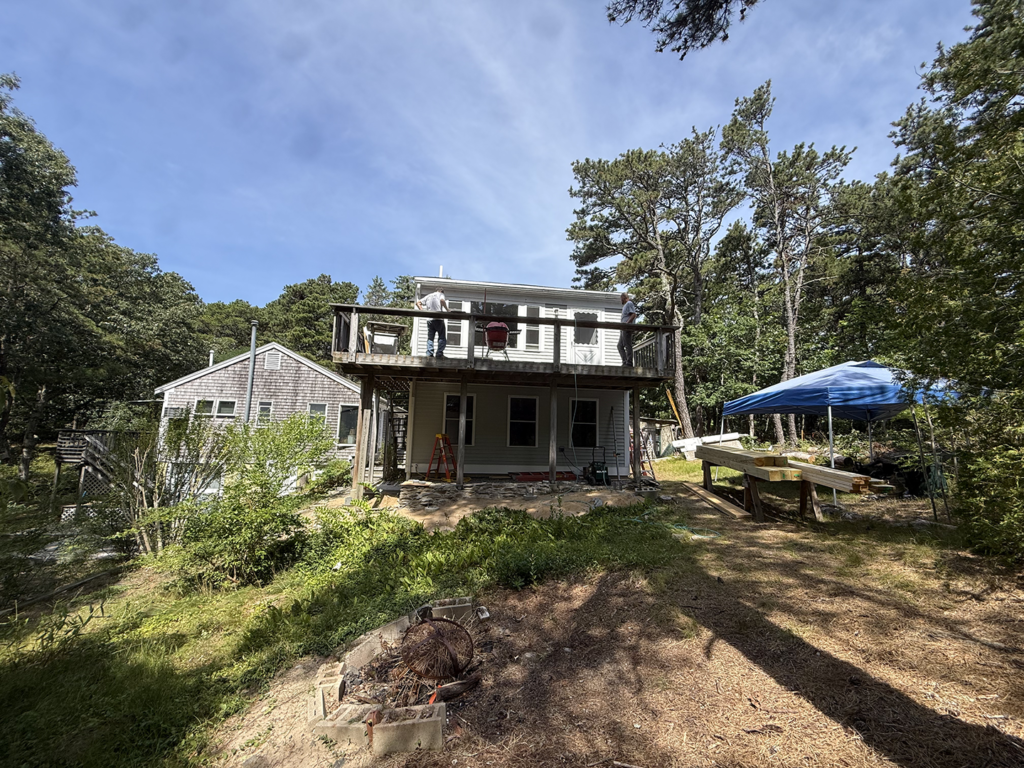
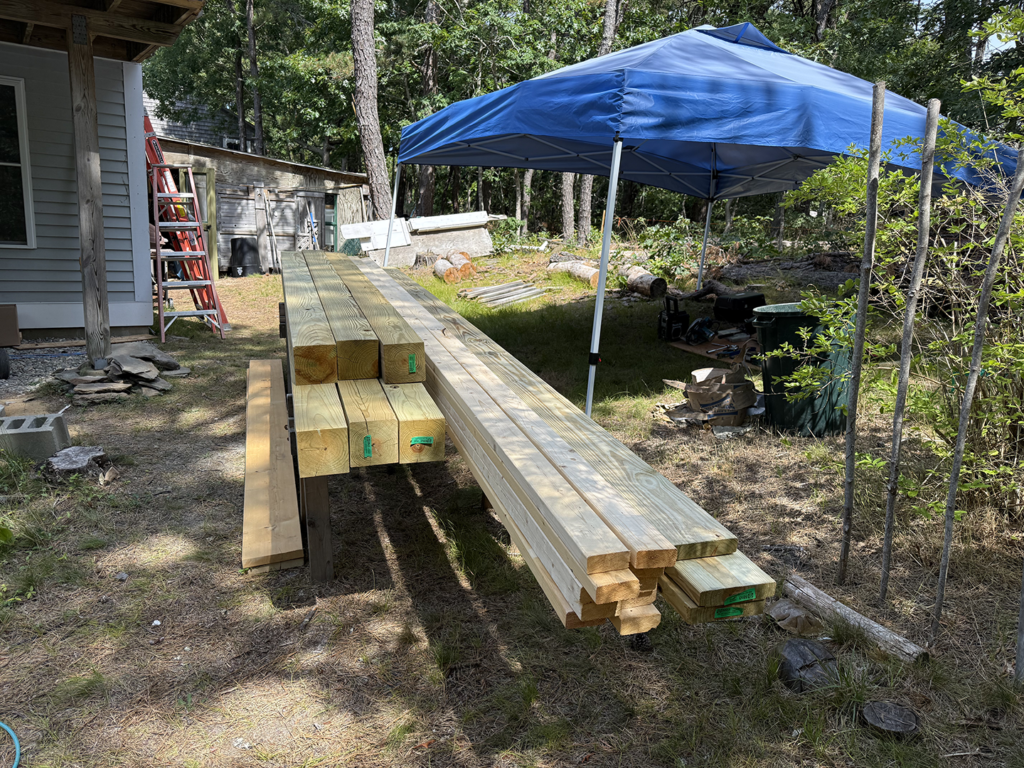
The first load of lumber 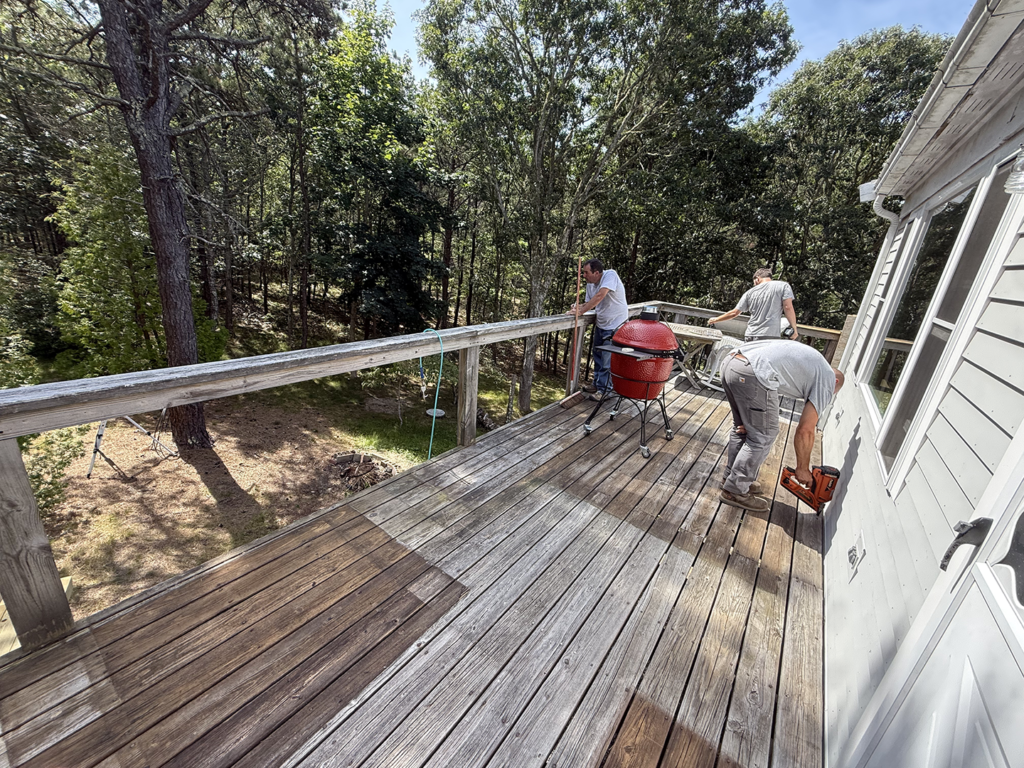
Skyline Homes is making it happen 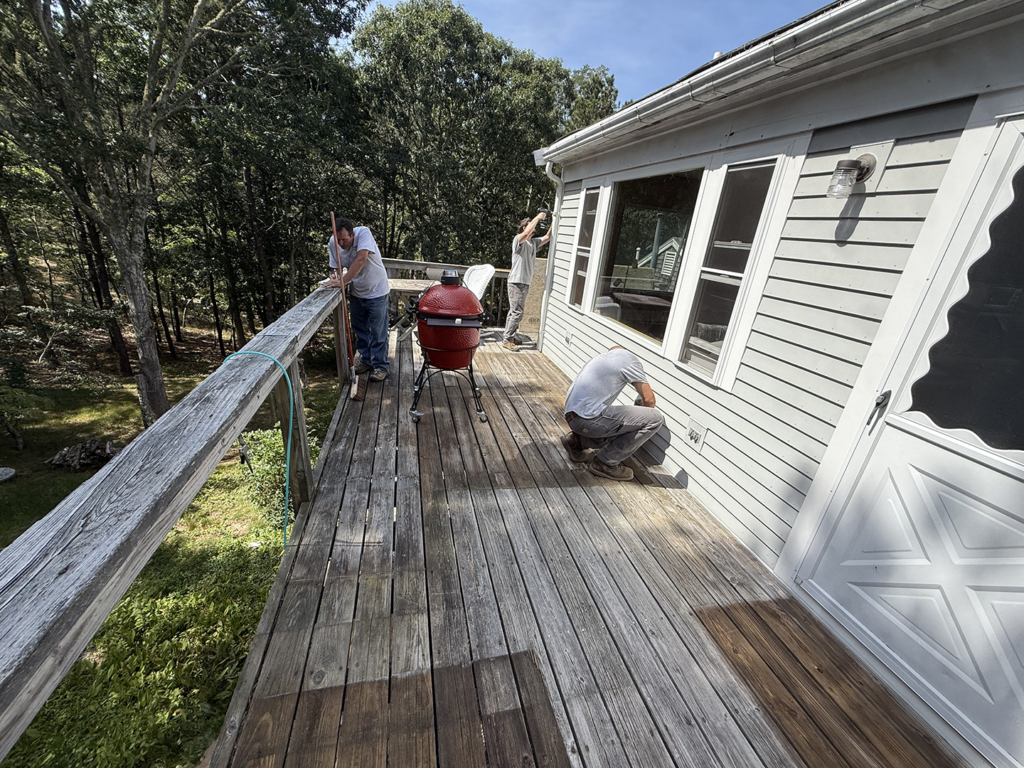
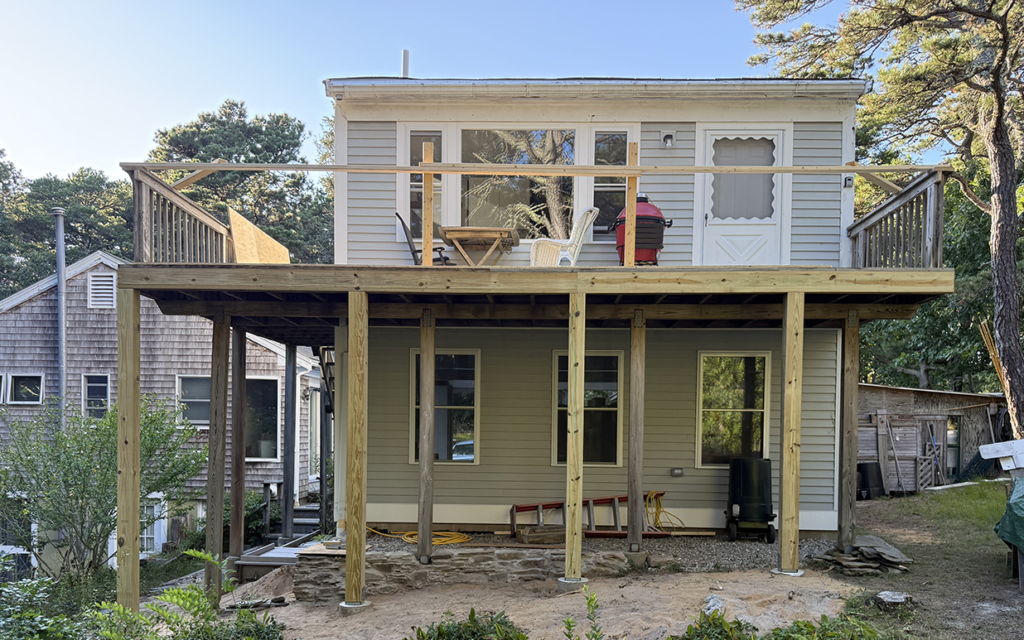
8.25.26 – The four back posts are in 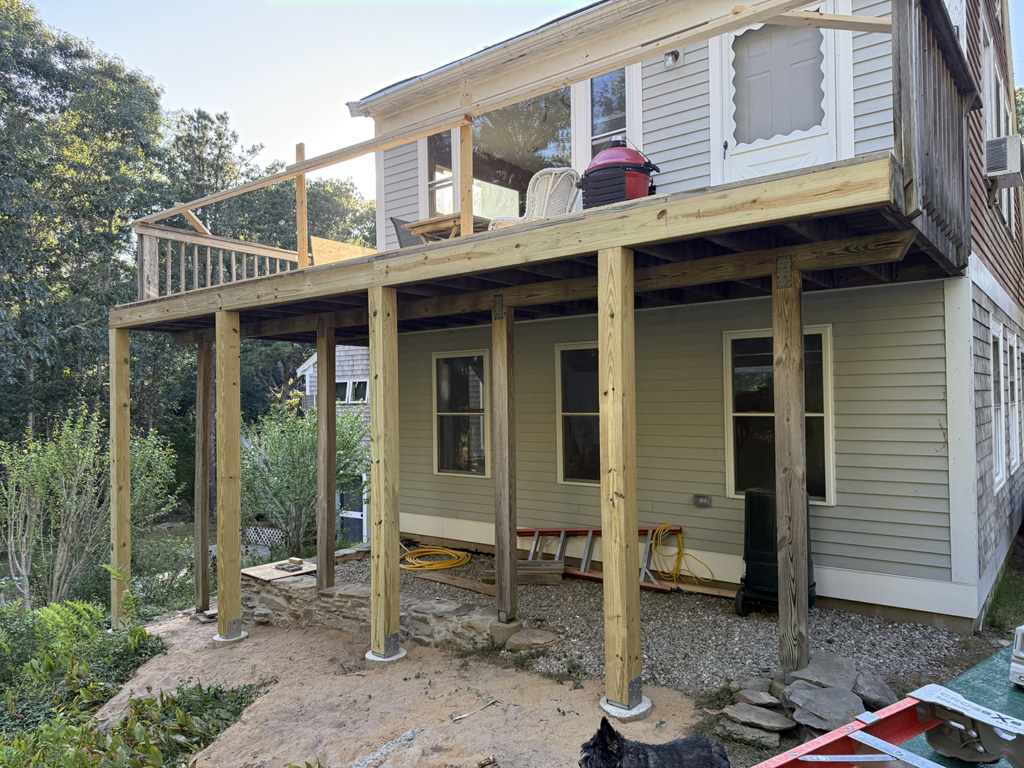
Same shot – different angle 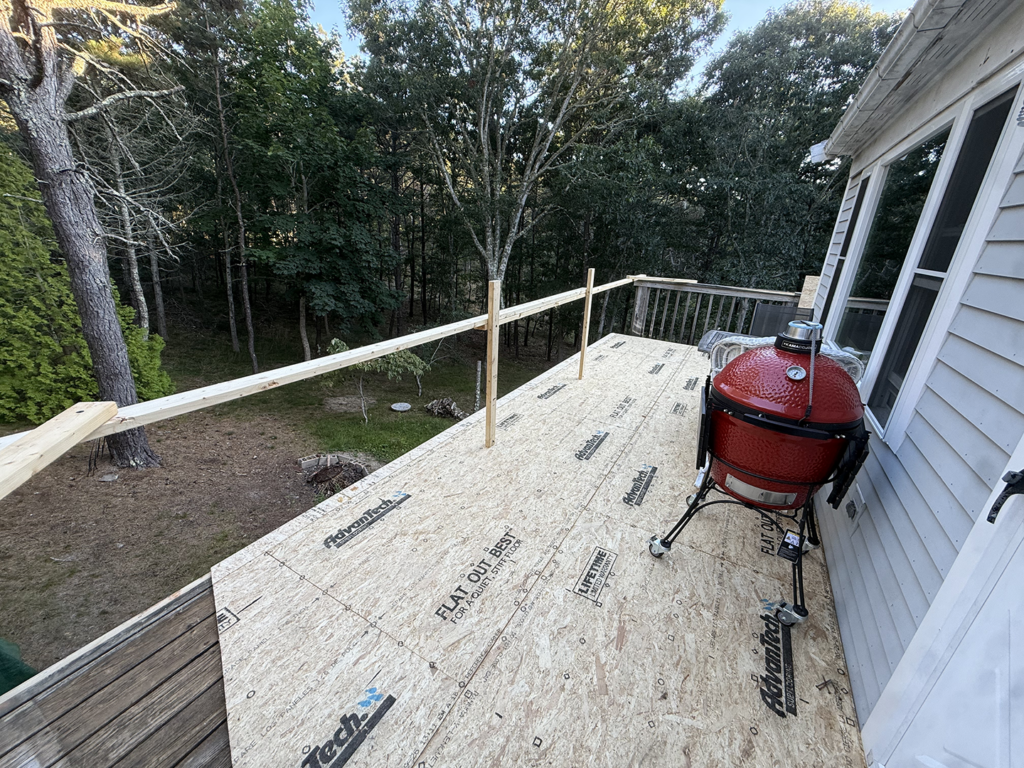
Plywood floor underlayment 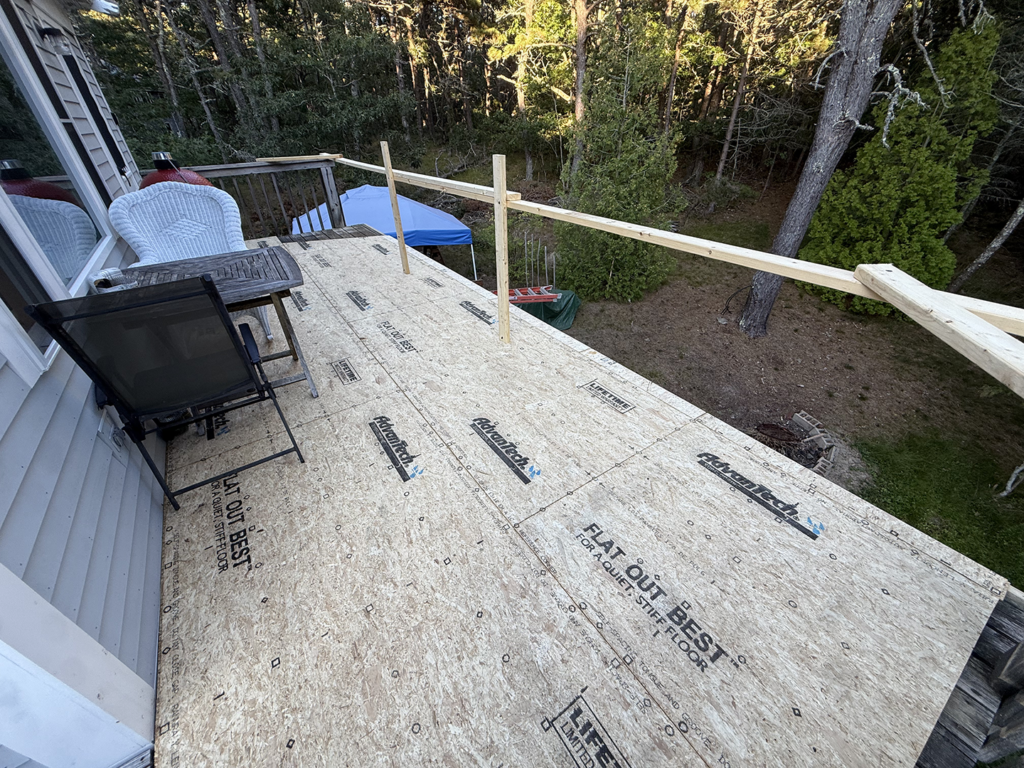
Still pondering what to use for the floor surface 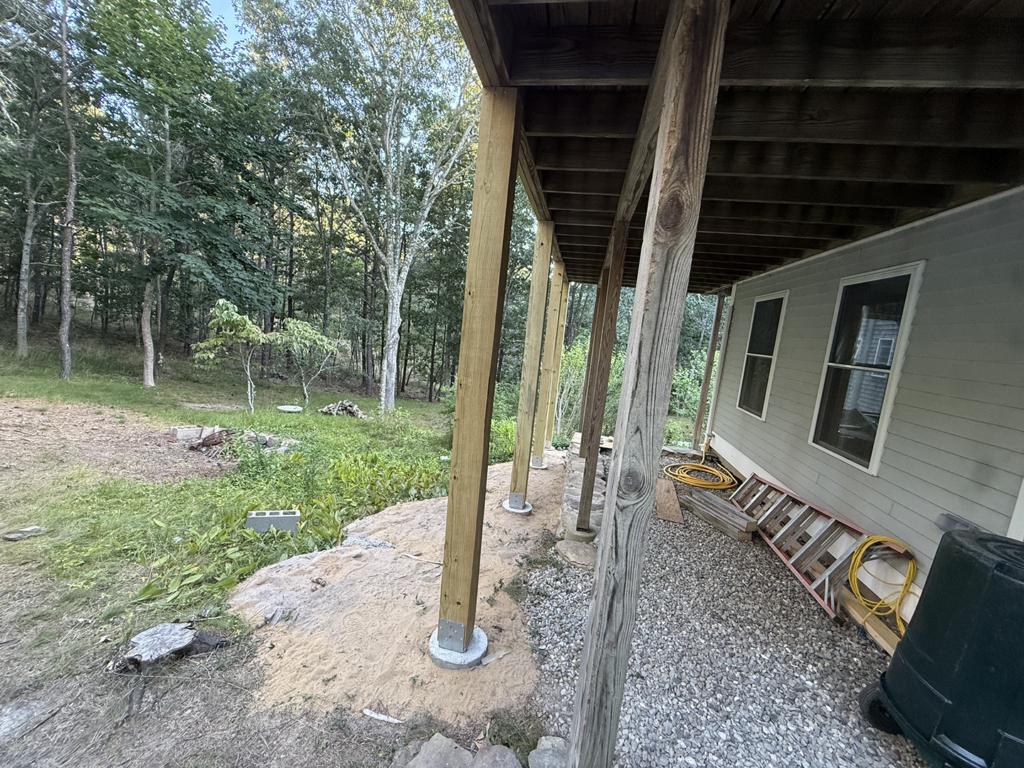
The new posts are 6×6, heavier duty than the existing 4×6 posts. 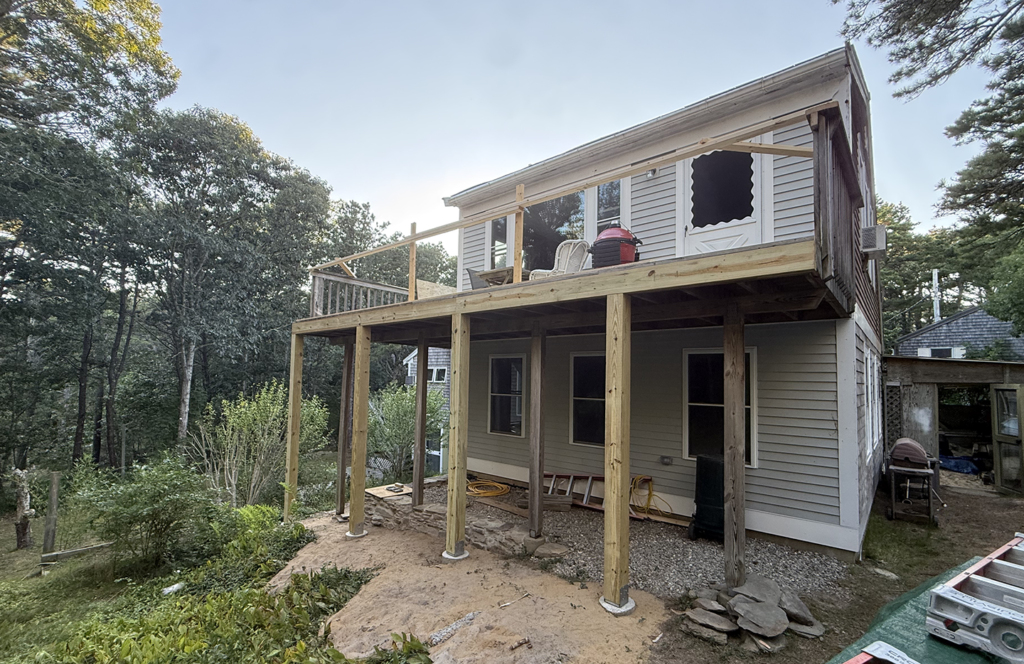
Heavier to better carry the weight of the walls and the roof above 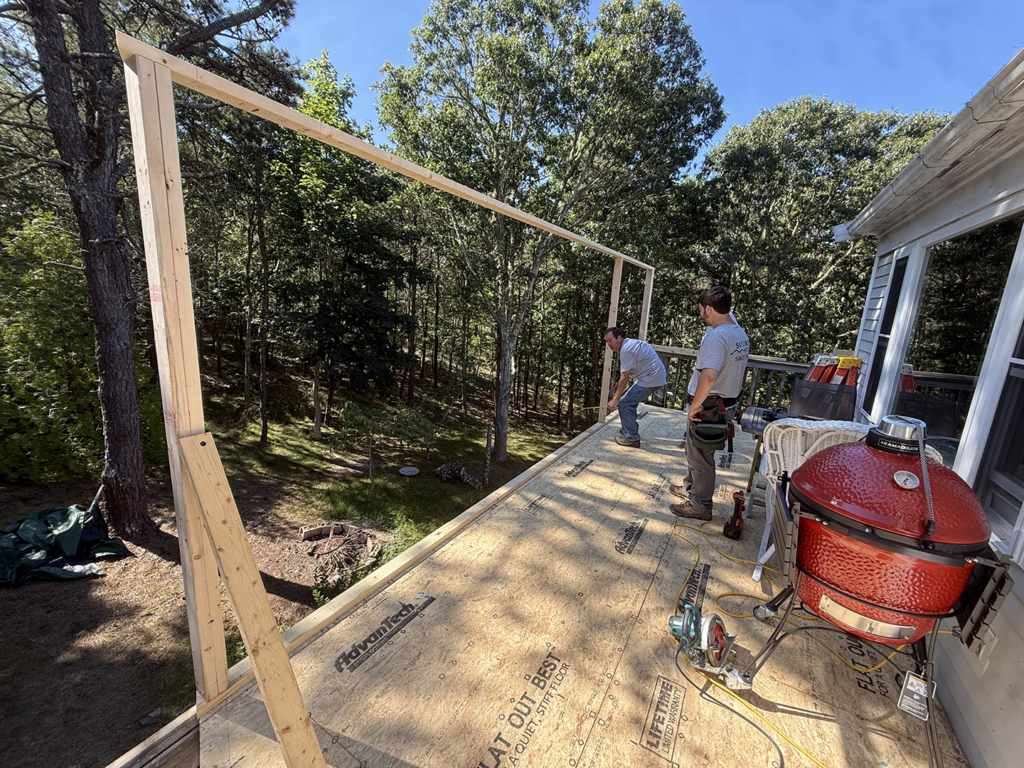
8.26.26 – Today is “back-big-window-wall” day 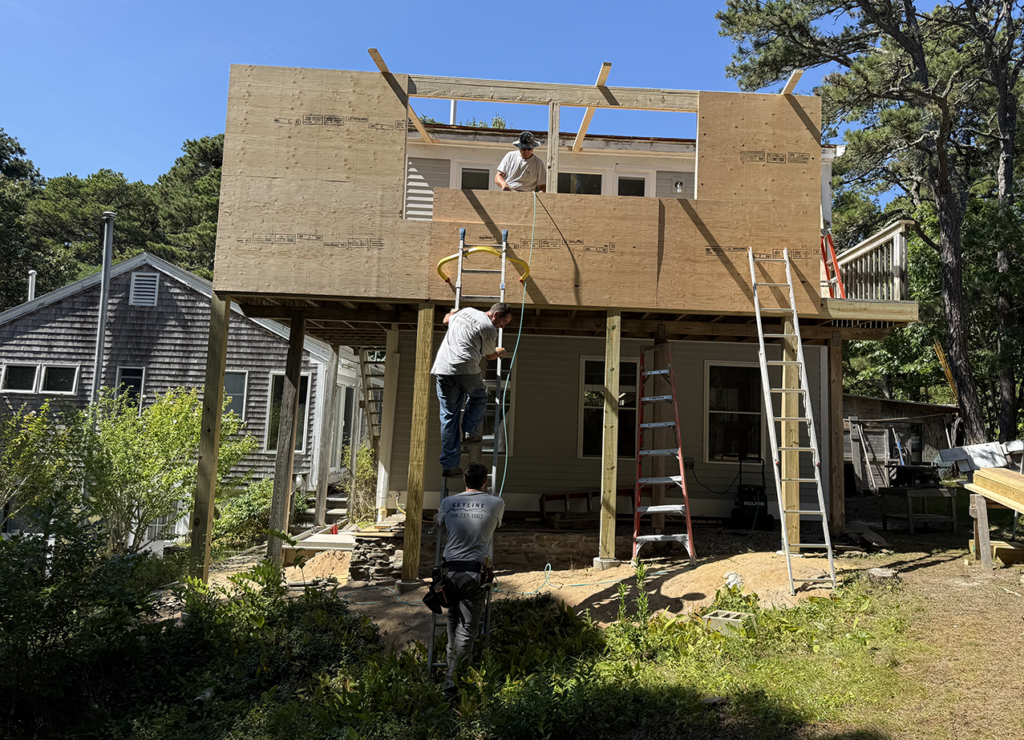
We figured out where and how big the windows would be (60 x 54) 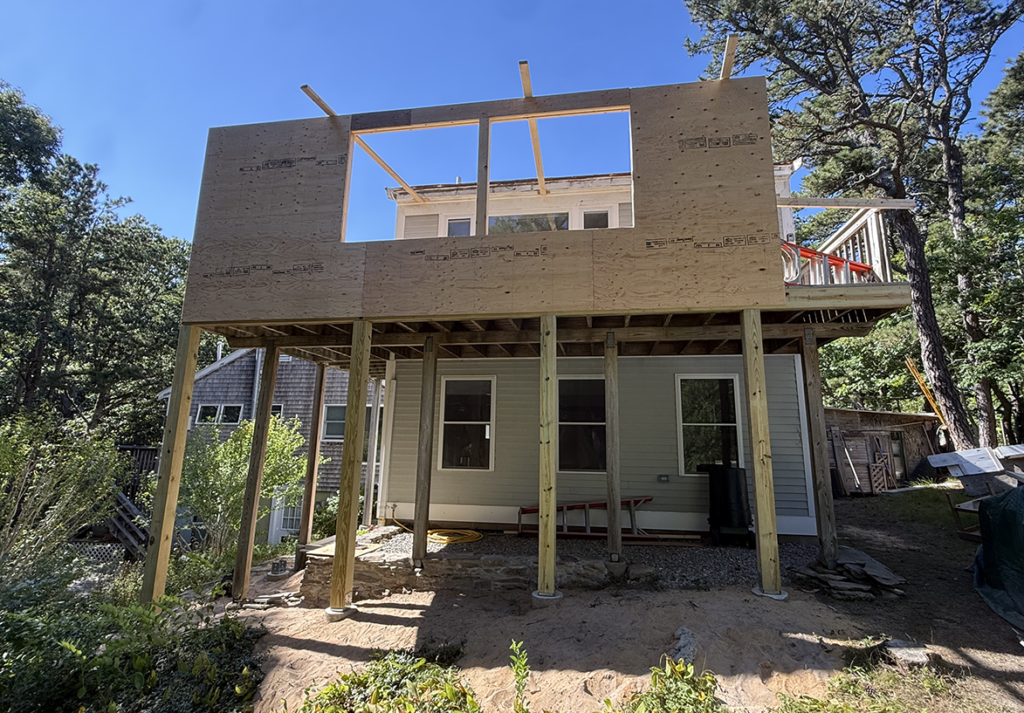
And six hours later there it is, roughed in of course 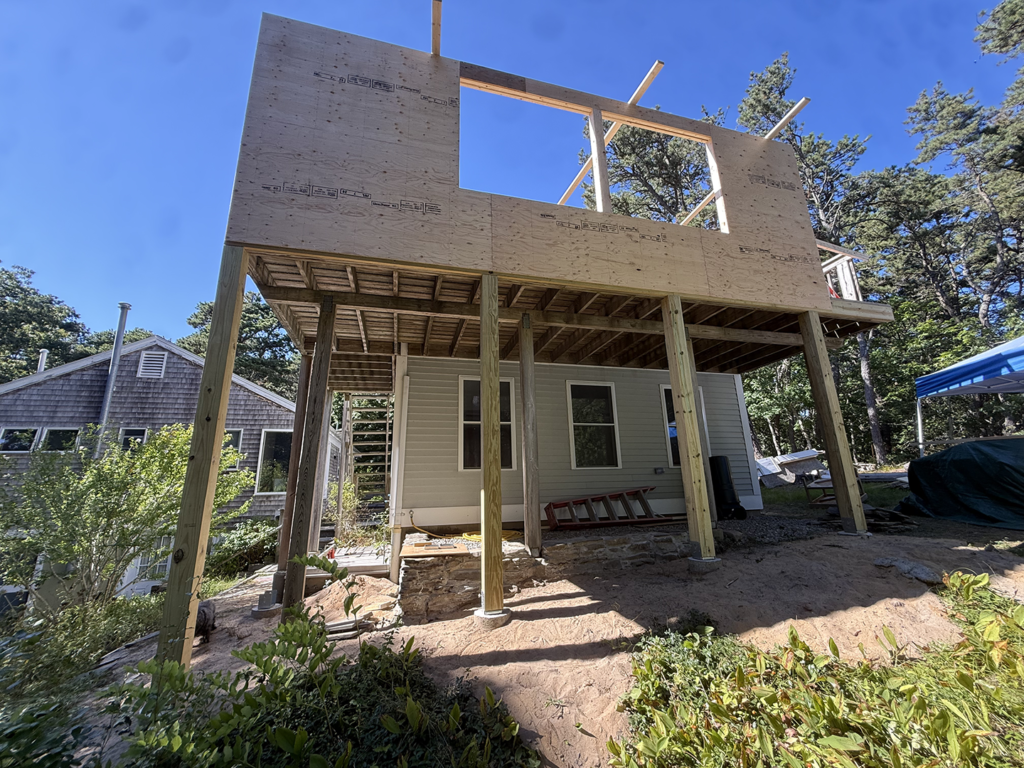
Trying to make decisions can be tricky… 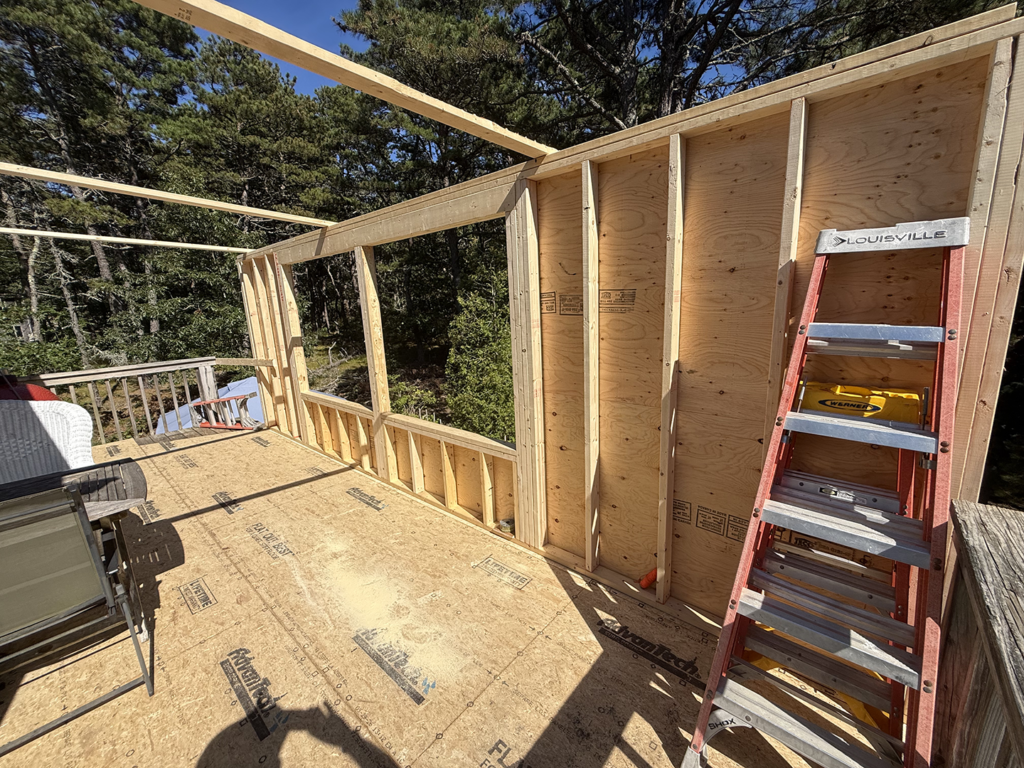
… when you’ve never done this before, or at least not often enough to be an expert 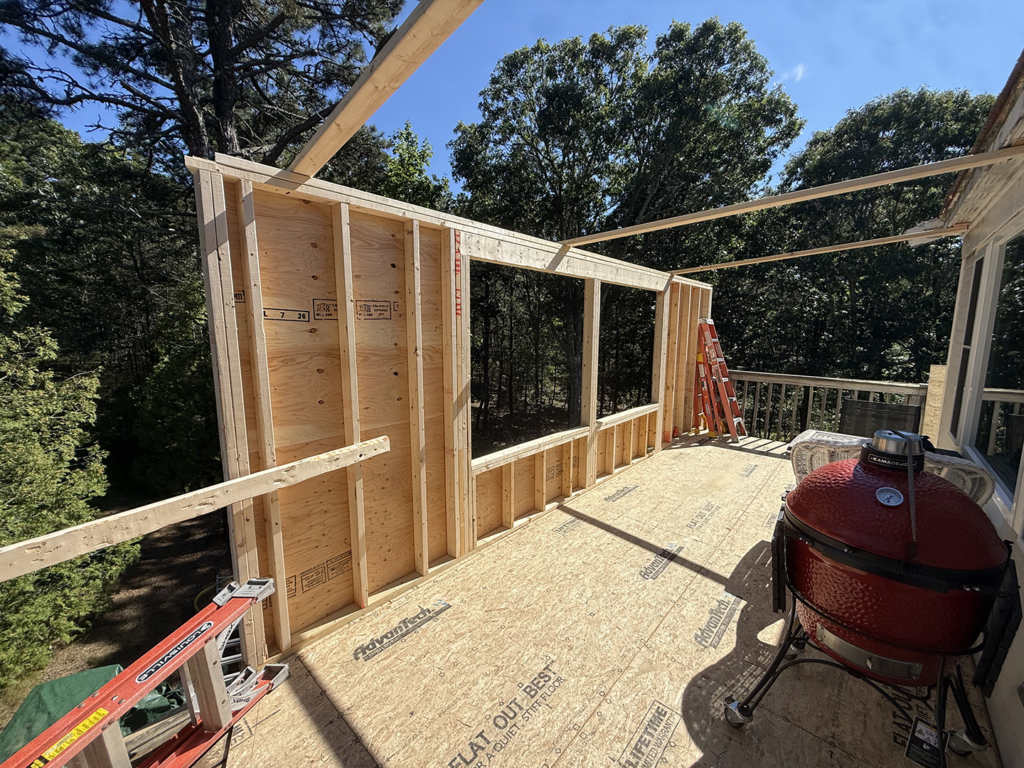
The idea is to have a lot of glass, but stay within the very reasonable budget 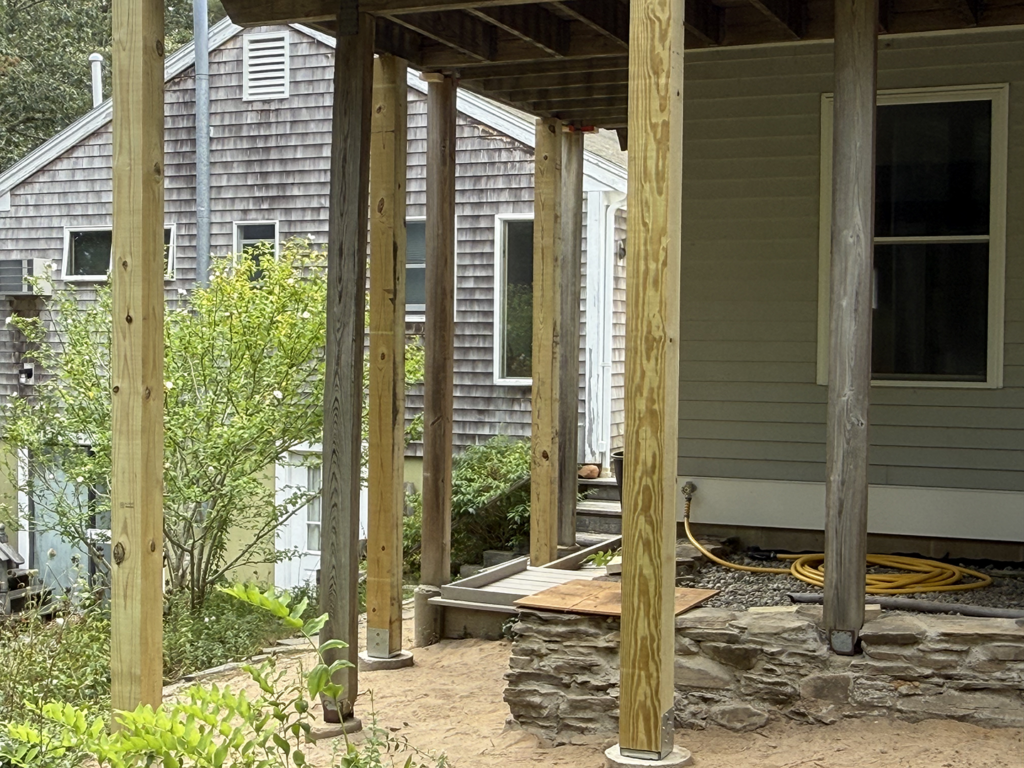
8-27-26 – The two side posts went in today 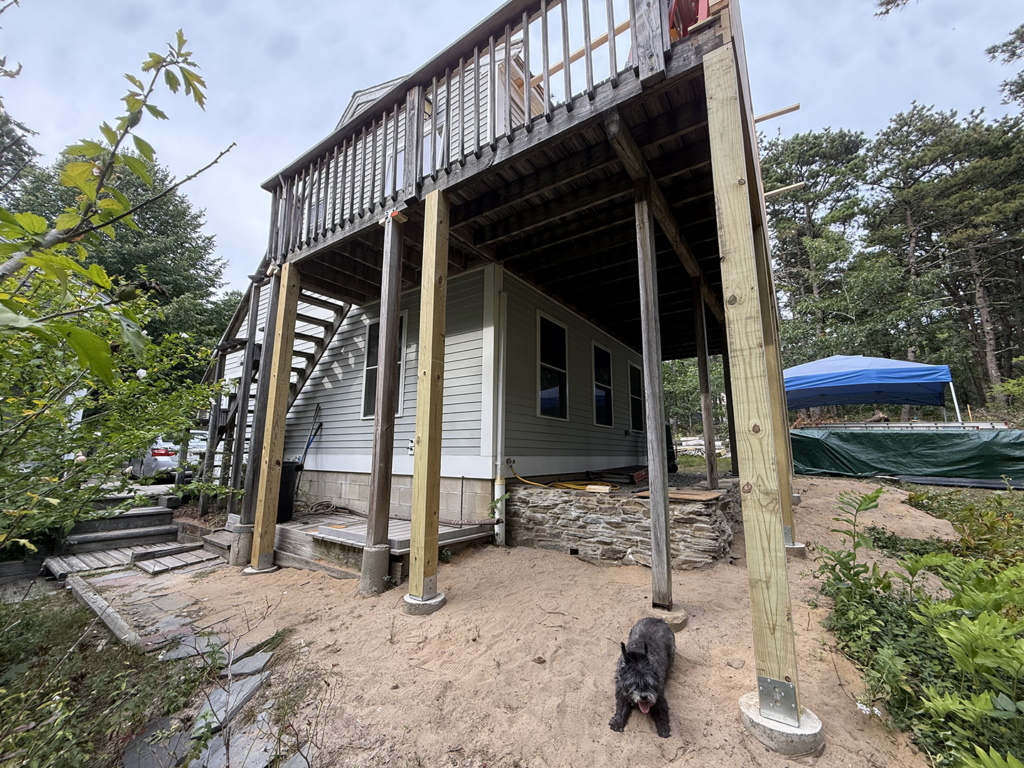
The word from the builder is that the existing posts were not well placed 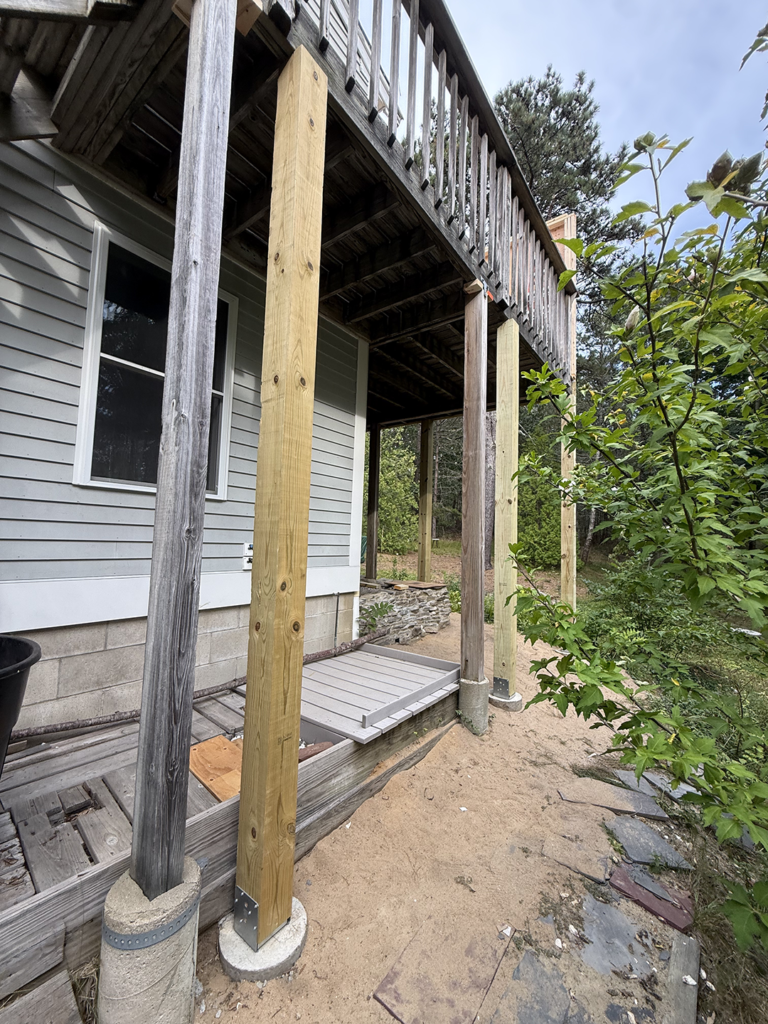
In fact they spent some time leveling the entire deck, especially on the stairwell side 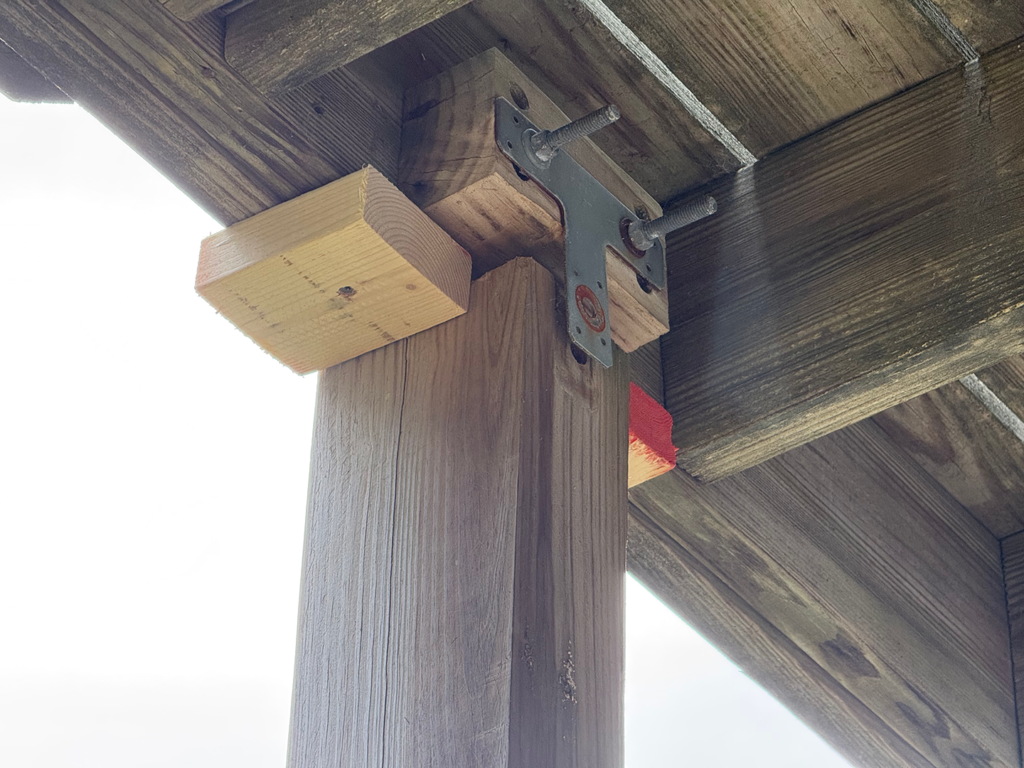
You can see here where they had to cut the top of the old post and raise that side of the deck about one inch 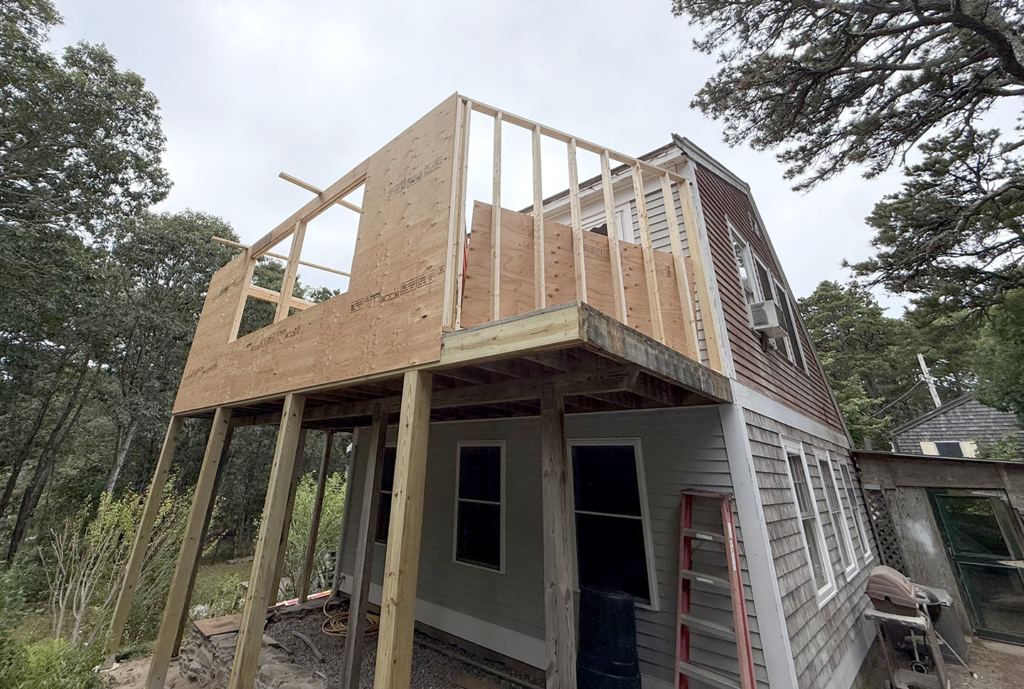
8.31.26 – Working on the walls 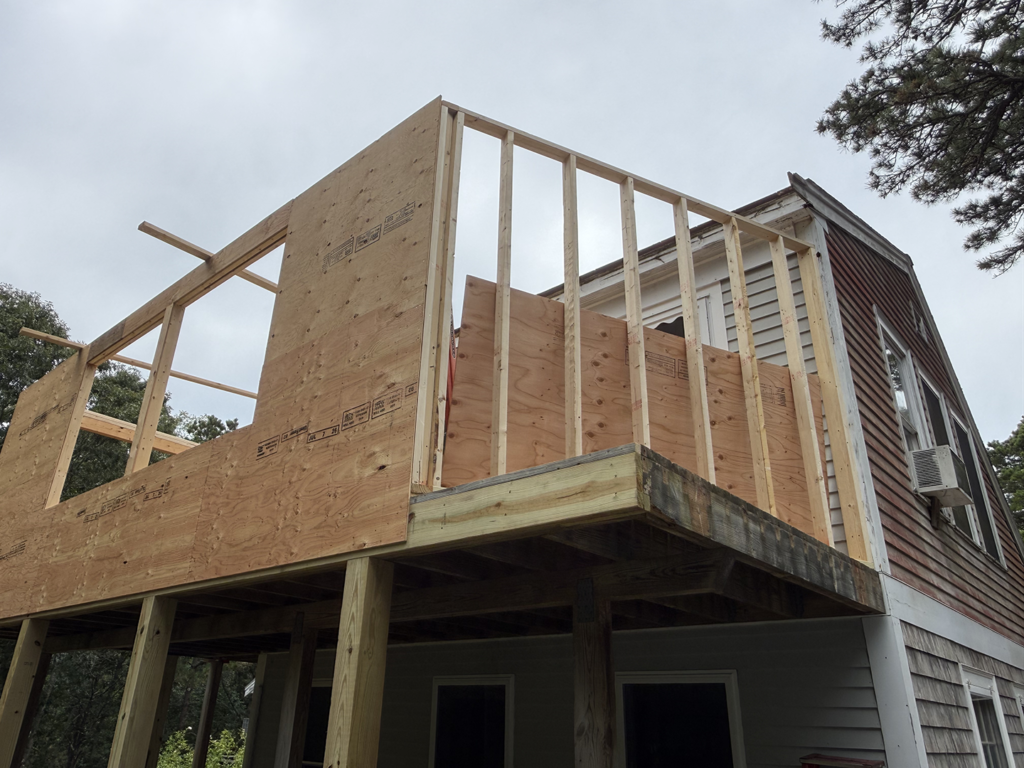
This wall will be cut at the angle of the setback so the project will be within the town building codes 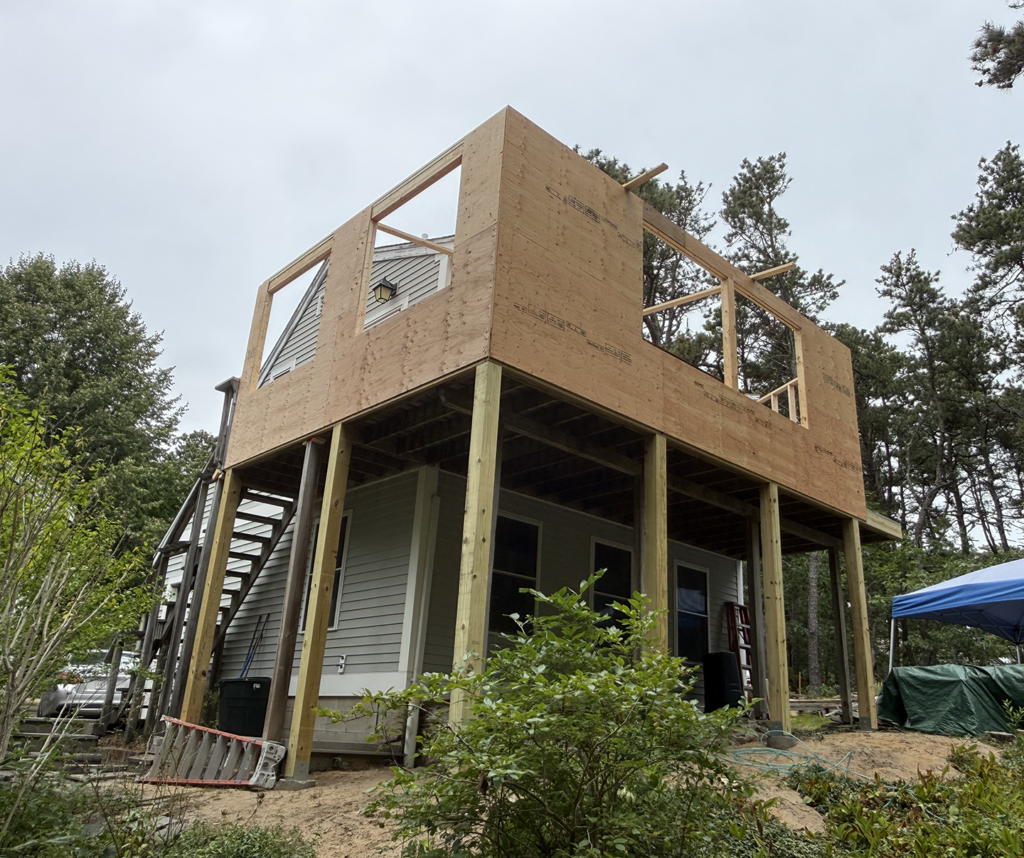
There are four 60 x 54 casement “sliding” windows 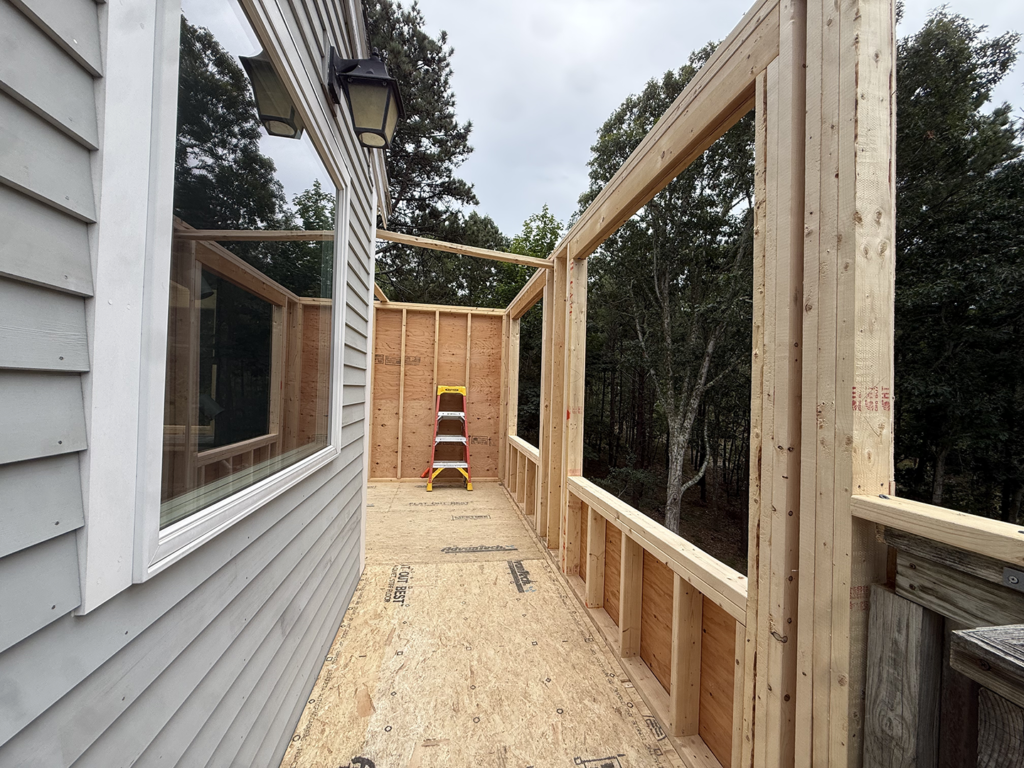
9.1.26 – Starting to look like a room. There will be an entry door to the deck room and the apartment just beyond the window 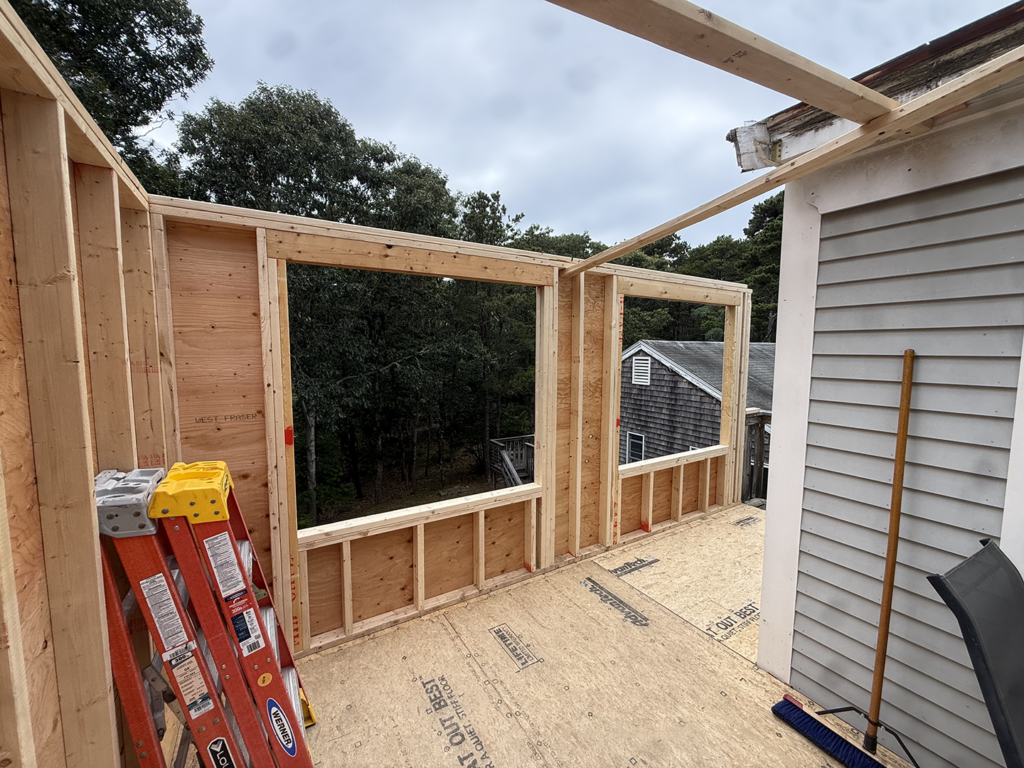
These are the two windows above the stairwell. The one on the left will be in the new deck room, while the one on the right will be in the landing area at the top of the stairs 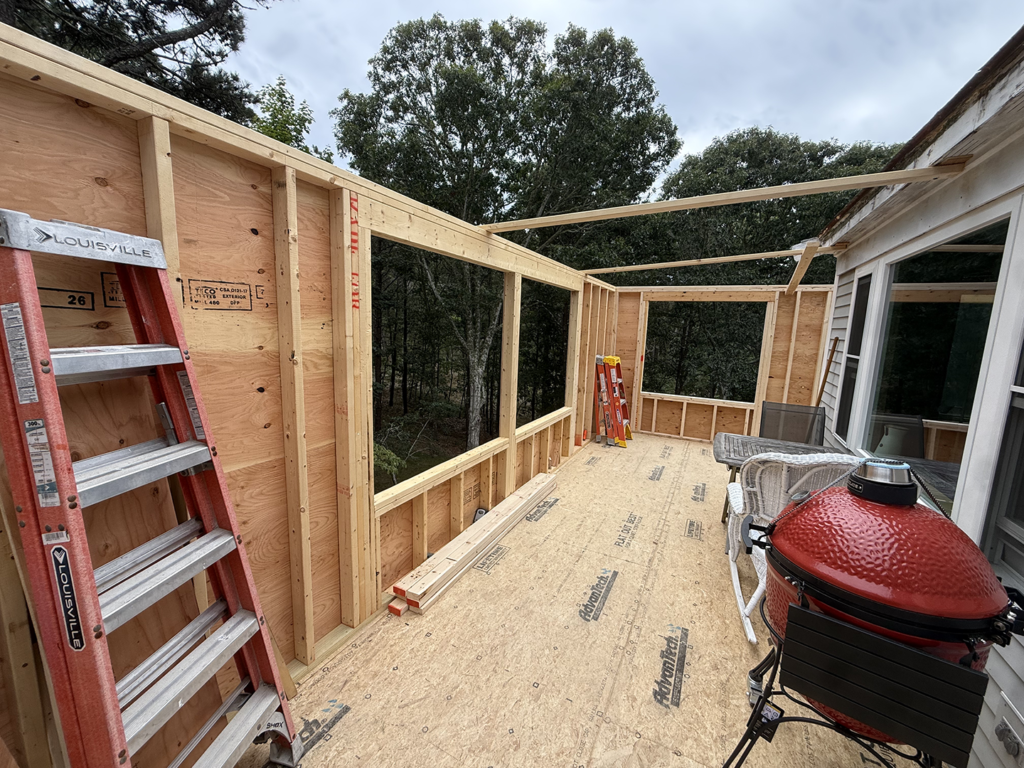
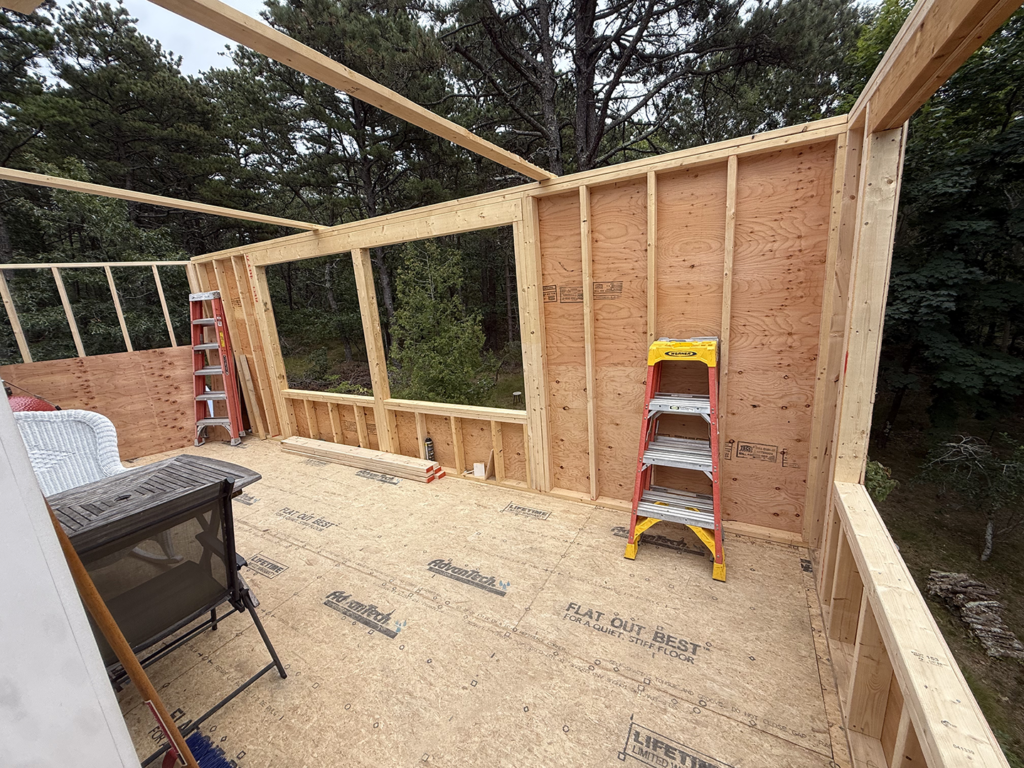
These windows will offer a great view of the woods 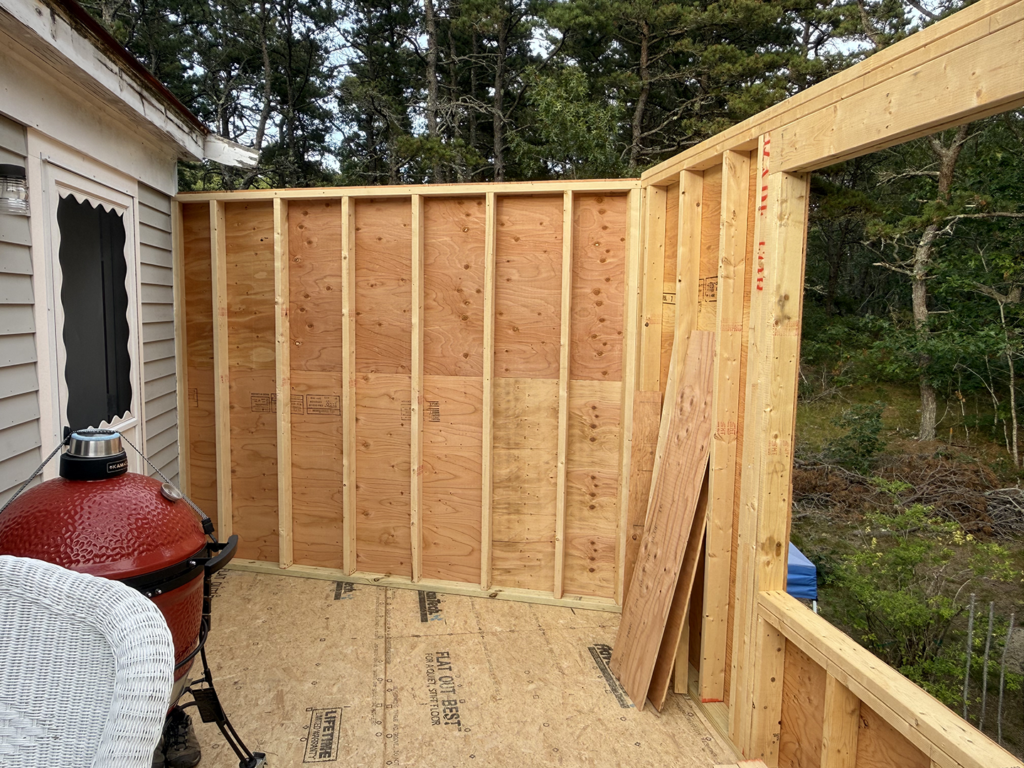
9.2.26 – Final wall is closed 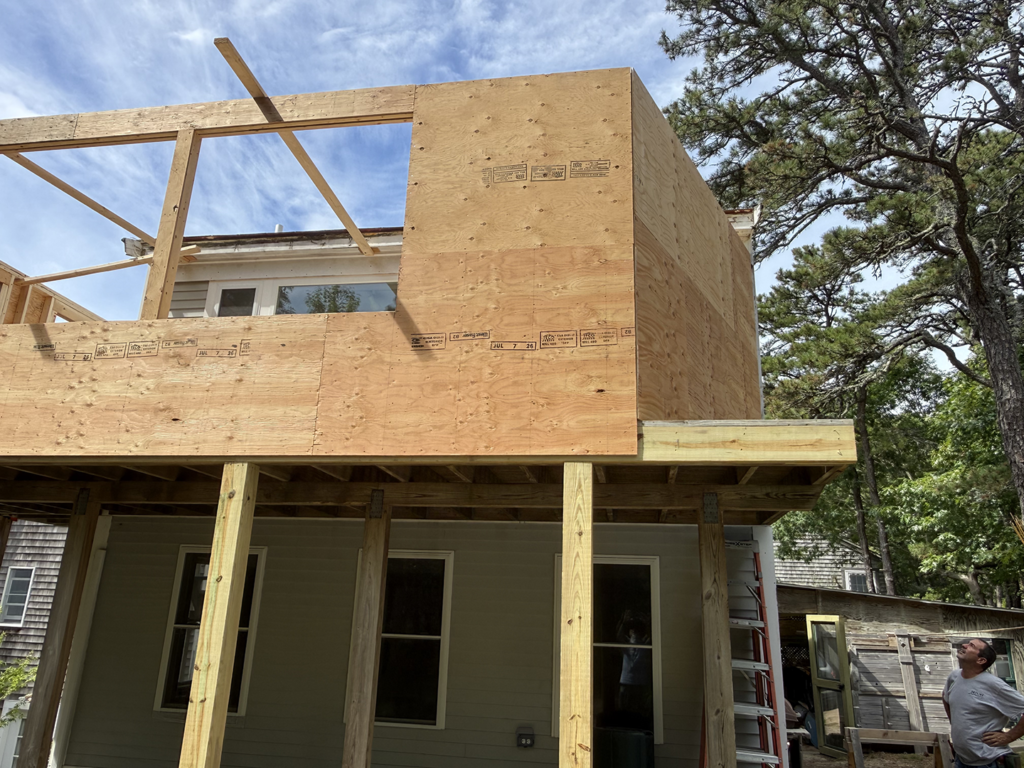
This corner of the old deck will be removed to accommodate the building code 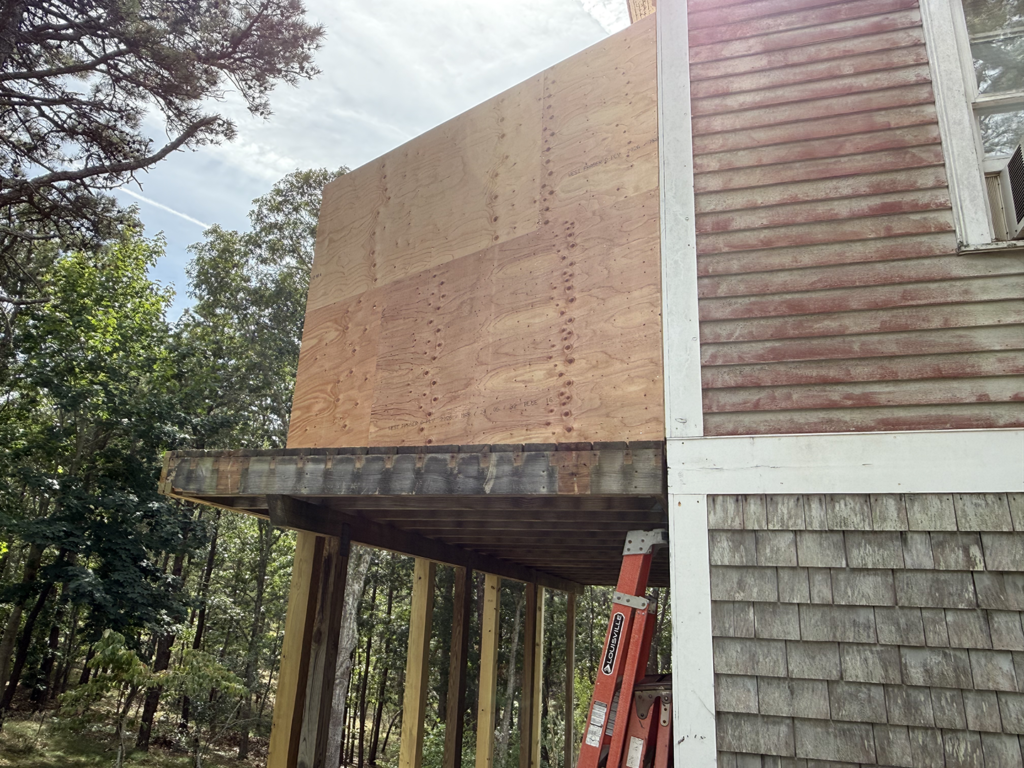
Tomorrow John Largey and crew will start the stairs. 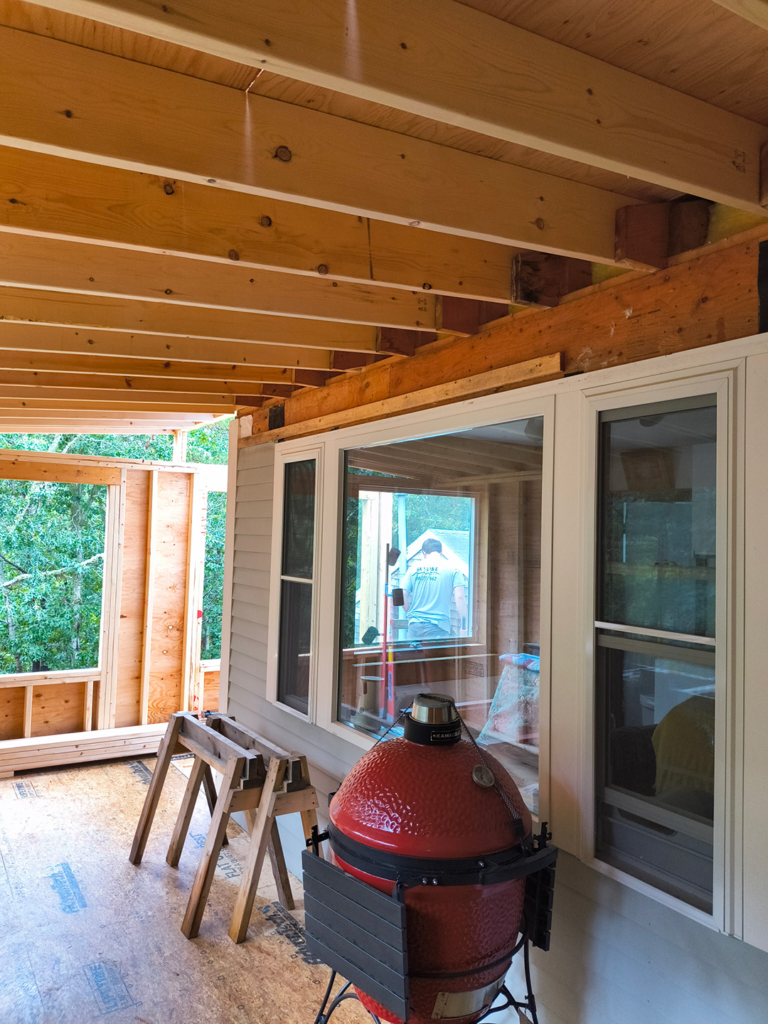
9.7-11.26 – The roof is started 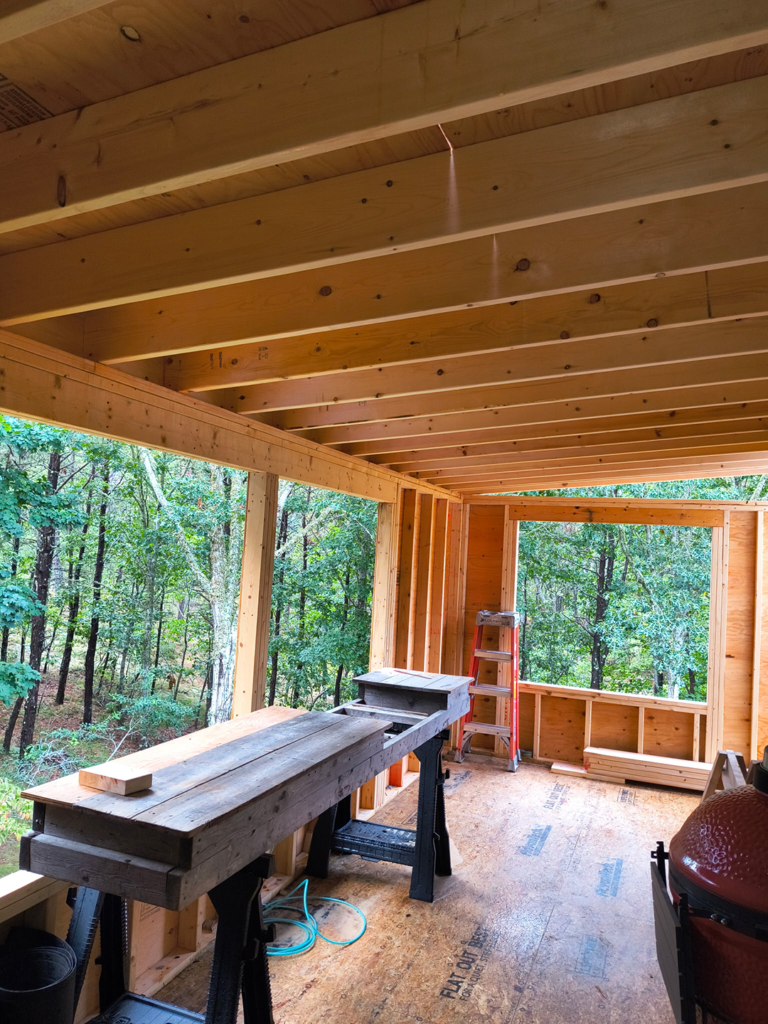
The rafters are in 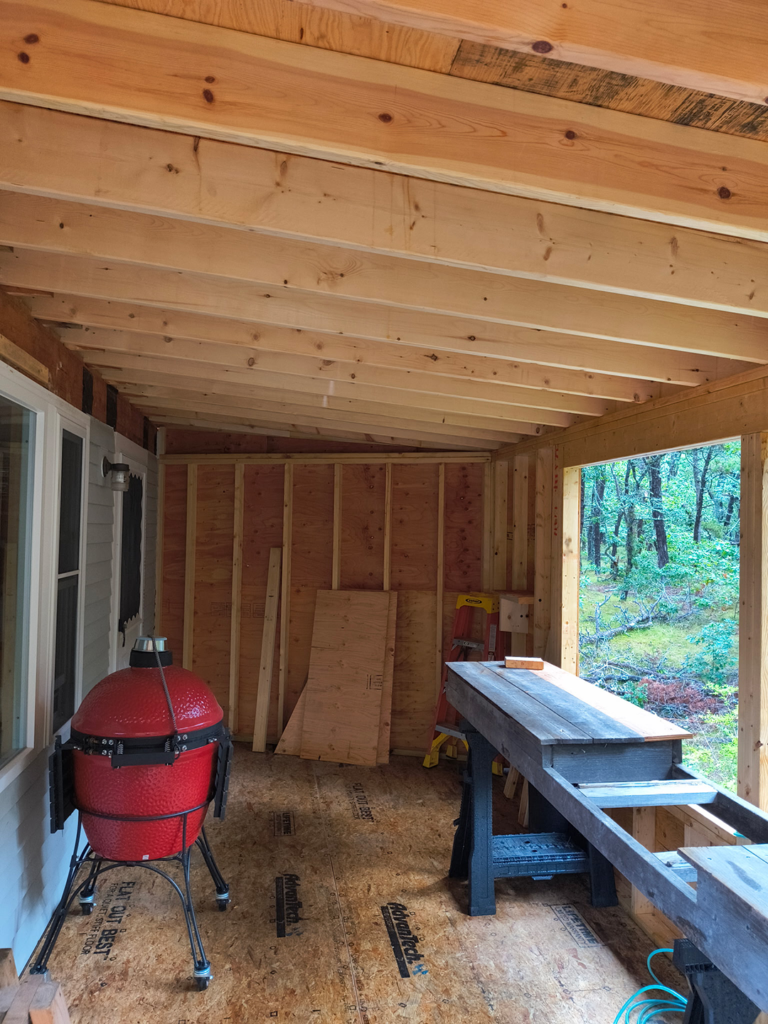
And the angled side wall is also finalized 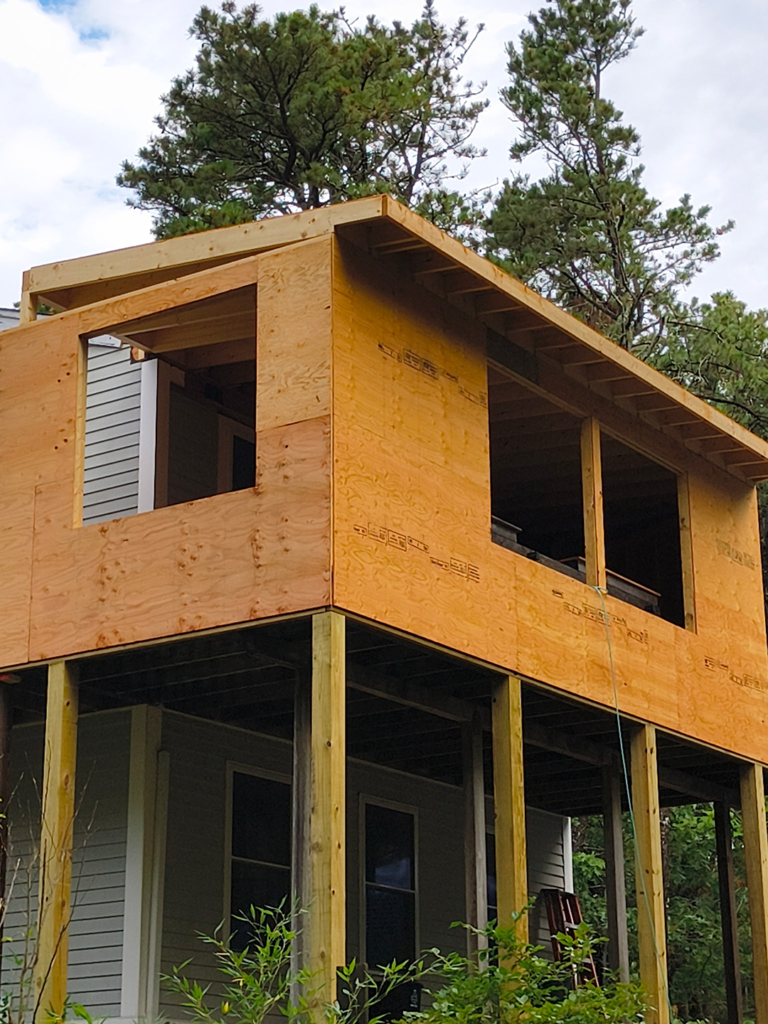
Things are starting to take shape 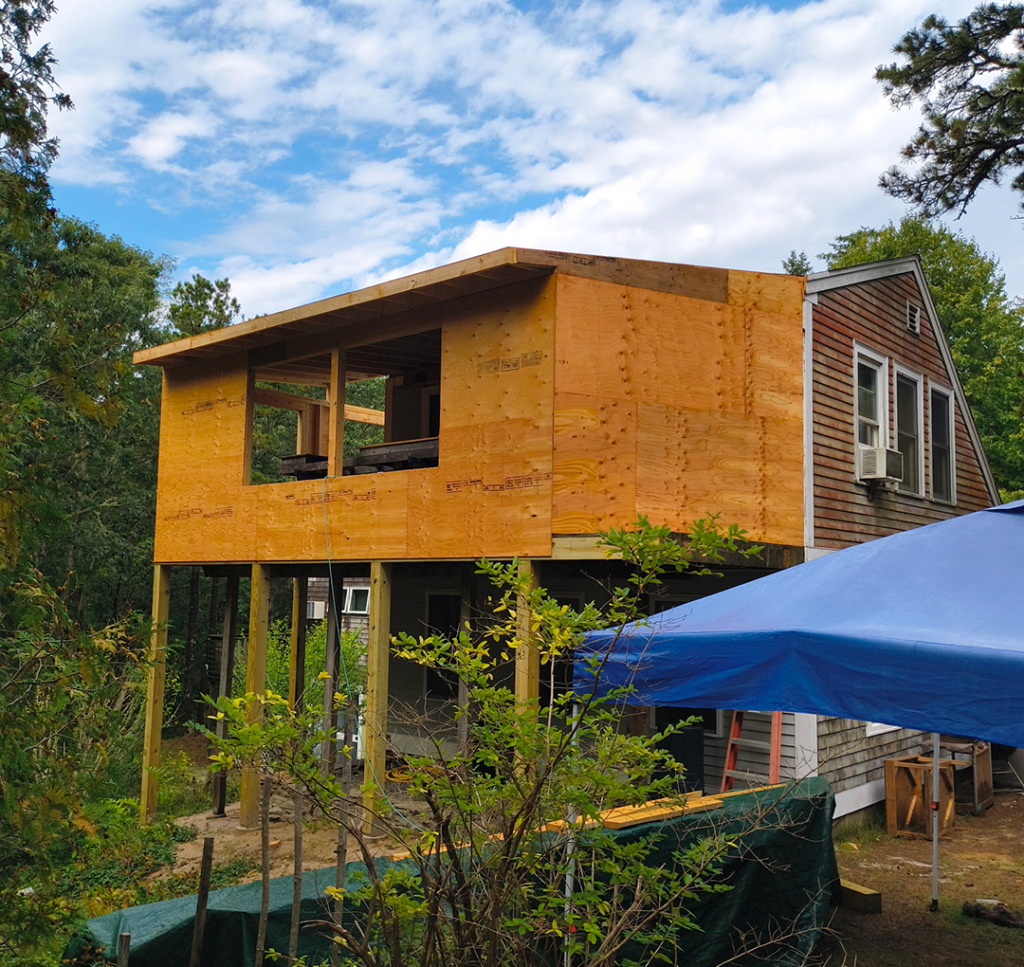
I am amazed at how much new interior room there will be 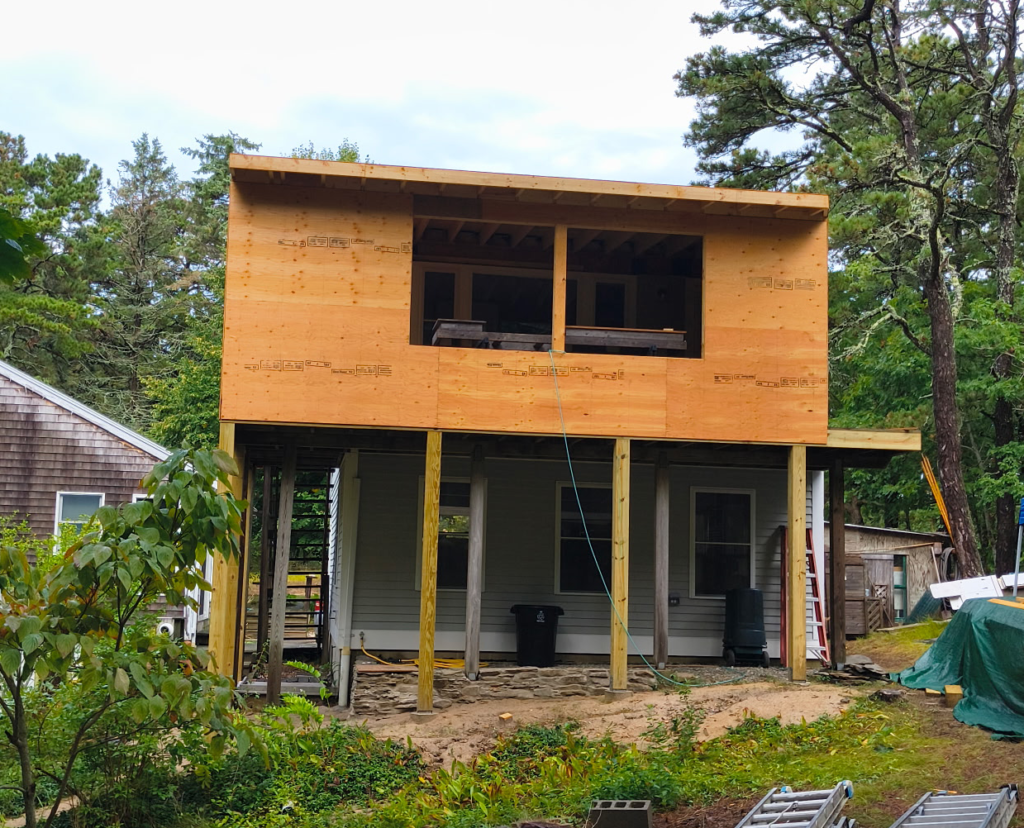
Even with this smaller than originally conceived footprint 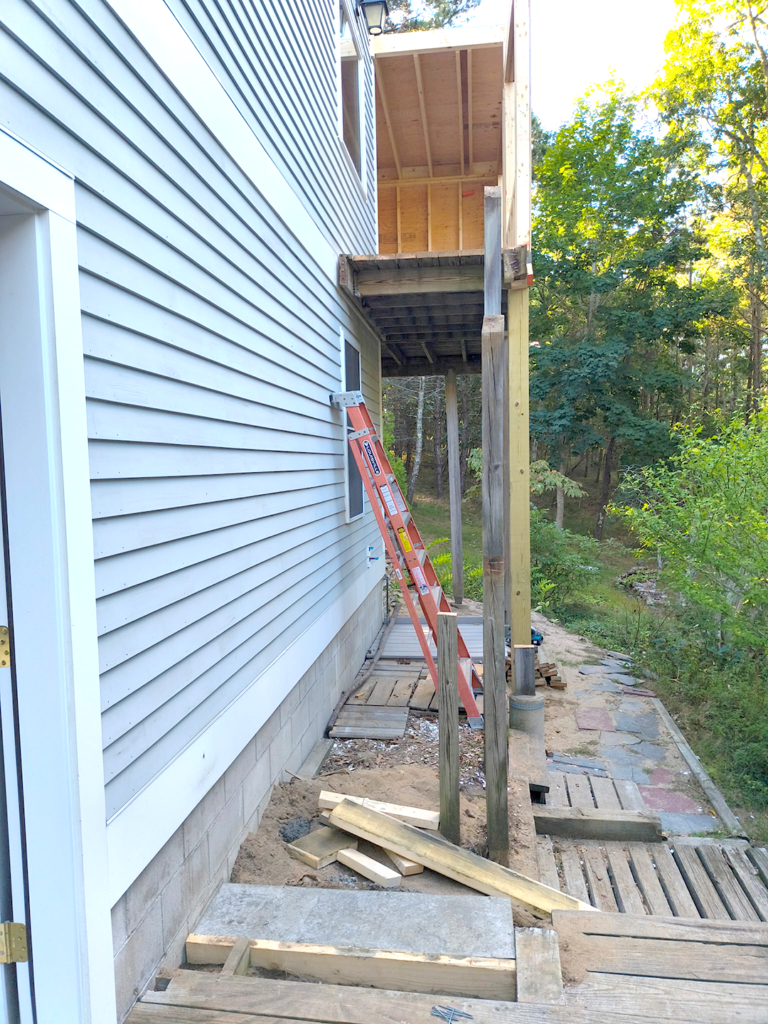
9.15.26 – Old stairs are gone 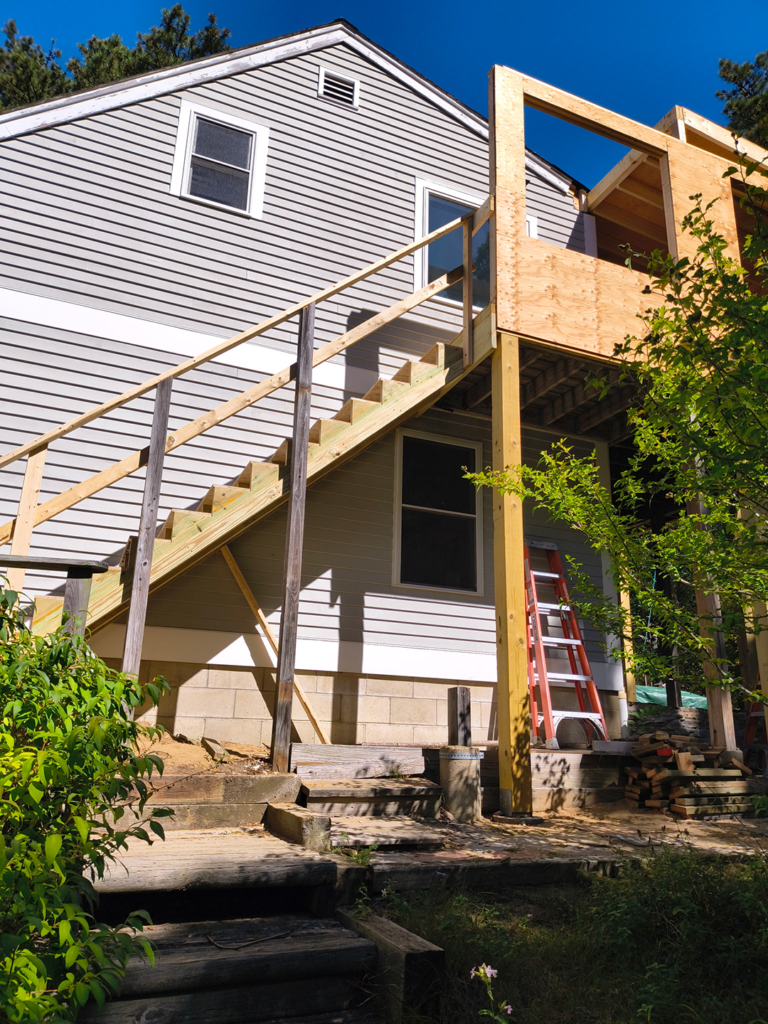
New stairs are in 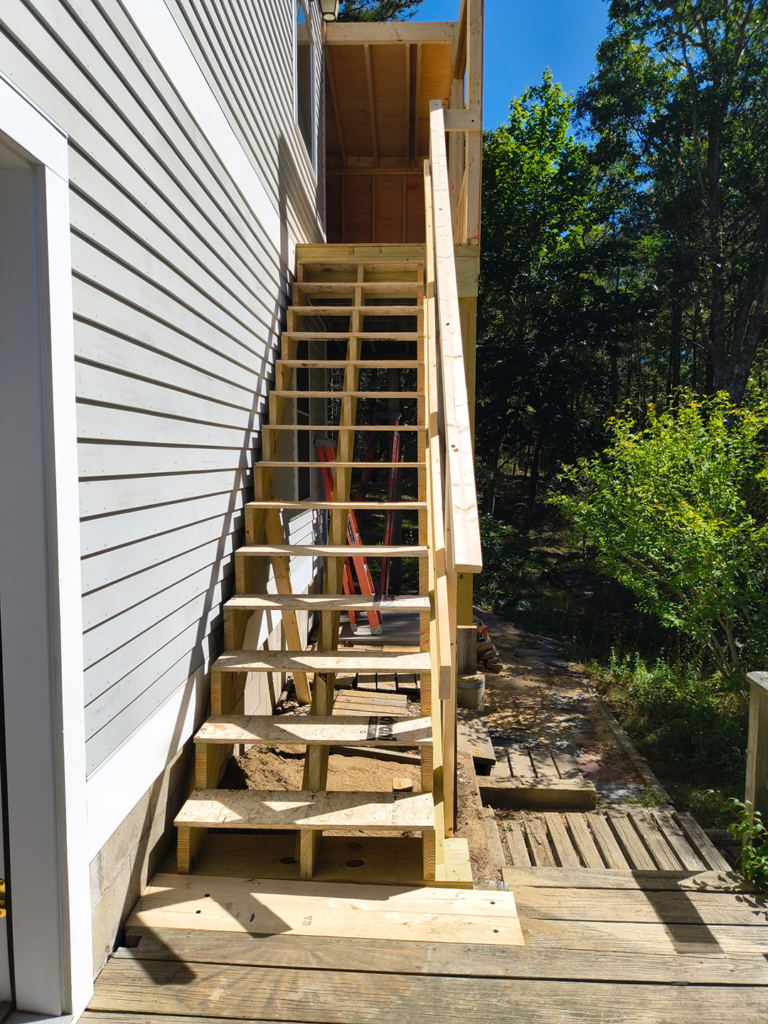
Looking like a new and better stairway 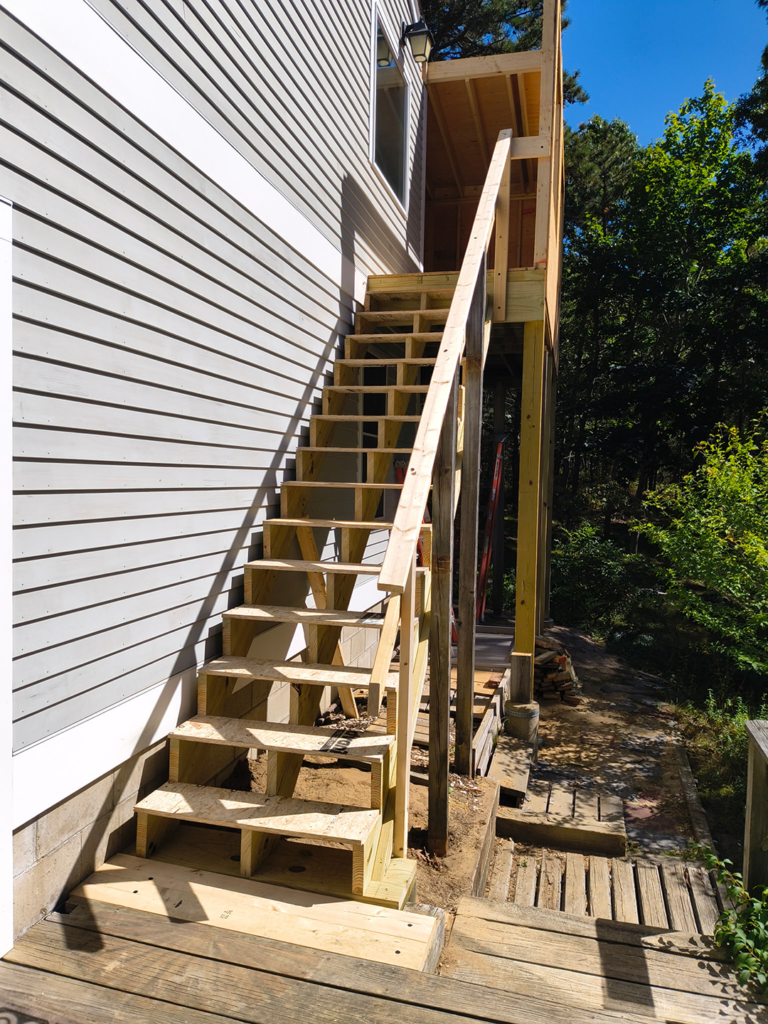
Next will be the structure around the stairs and extending the roof all above the new structure. 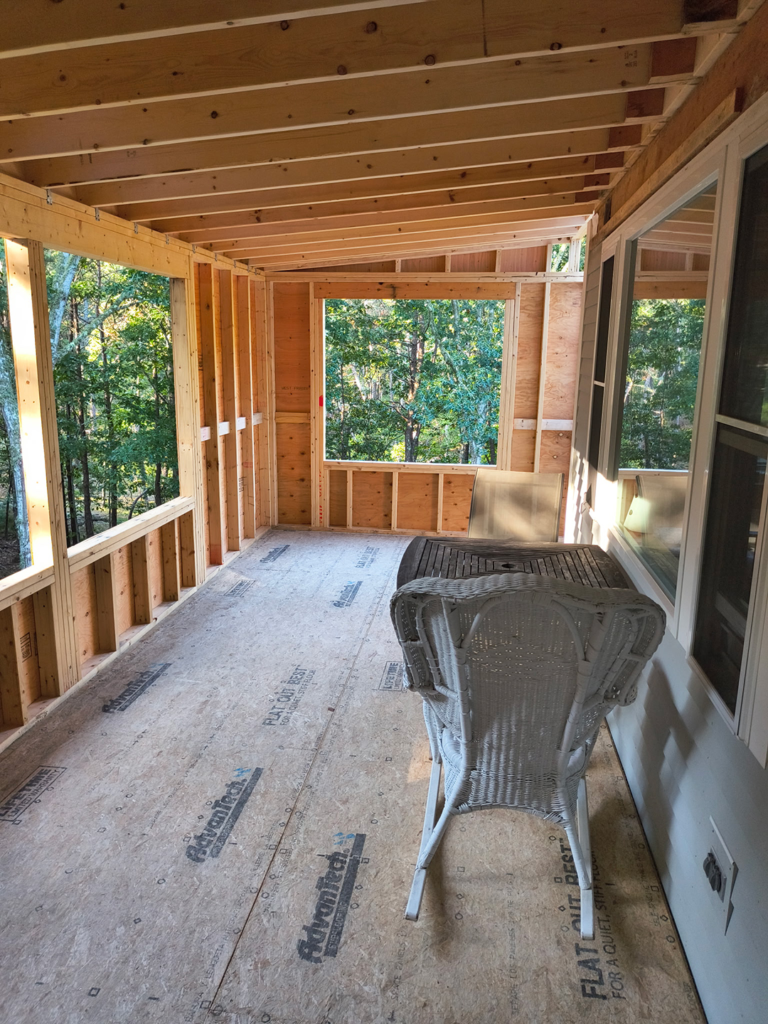
9.16.26 – new deck room all cleaned up… 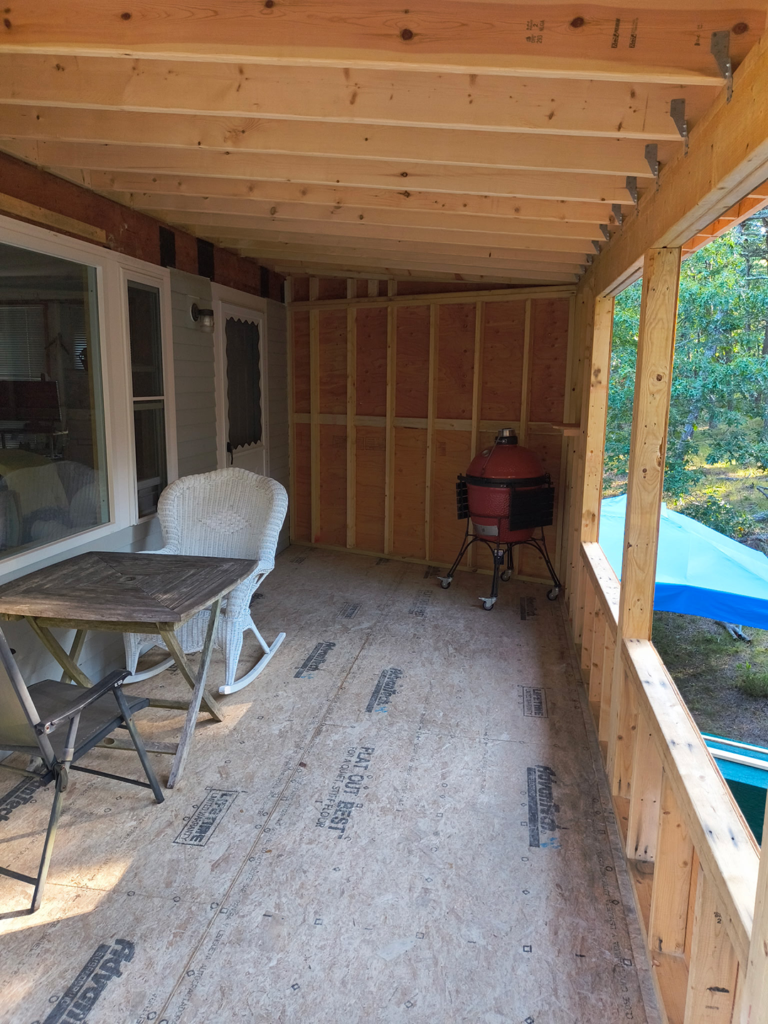
… and looking nice and cozy 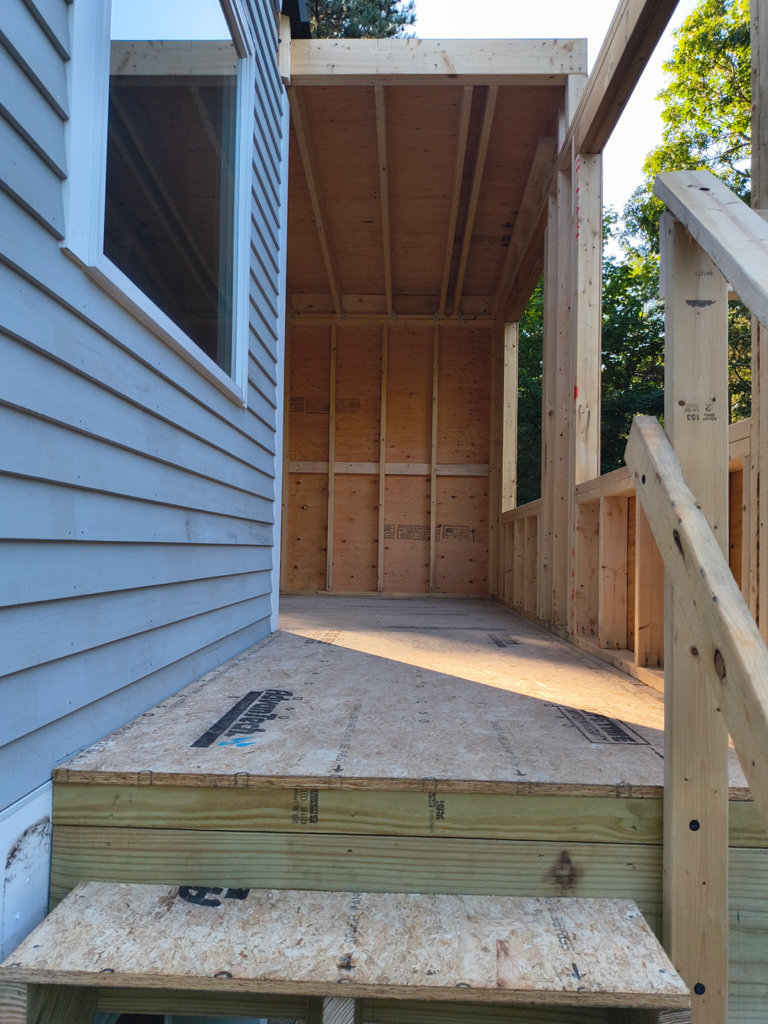
The hand carved, oak door will go here at the corner of the existing second floor wall, at the back end of the landing at the top of the stairs 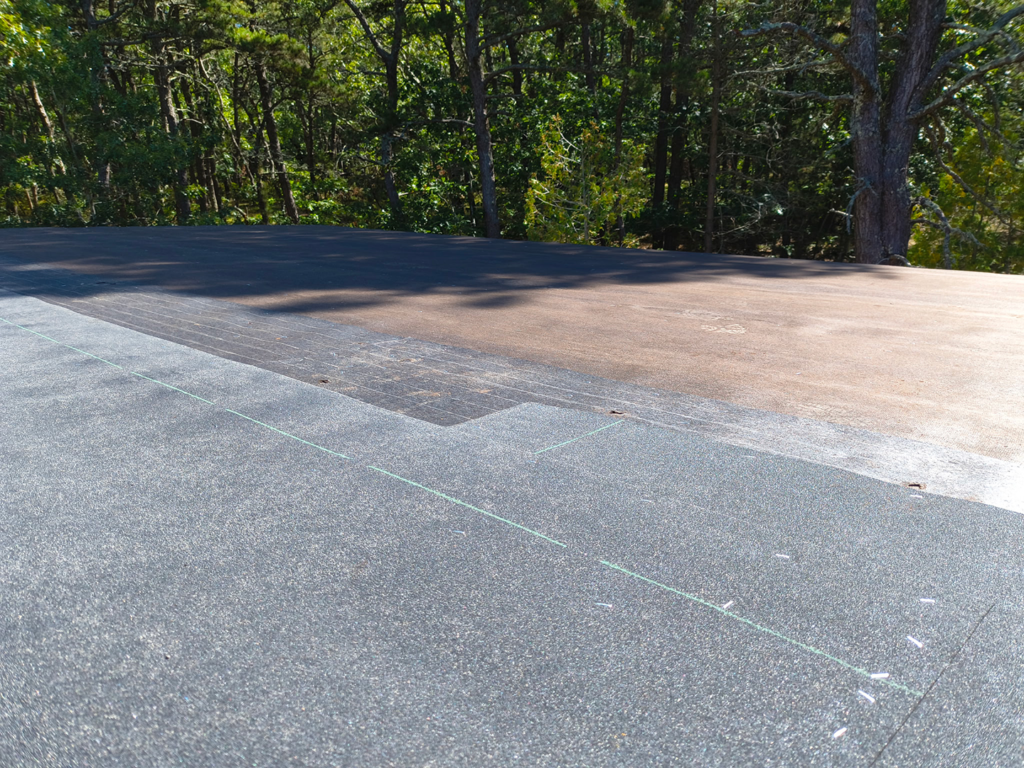
The roof is tar papered and ready for the roofer 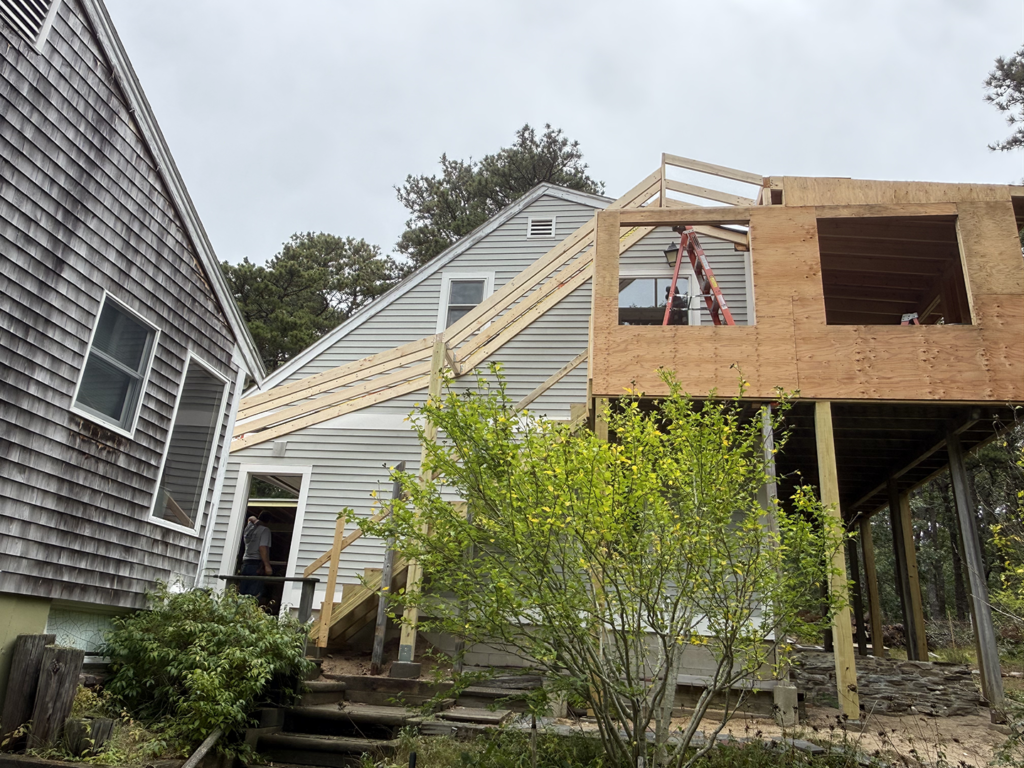
9.29.26 – The roof rafters for the stair way 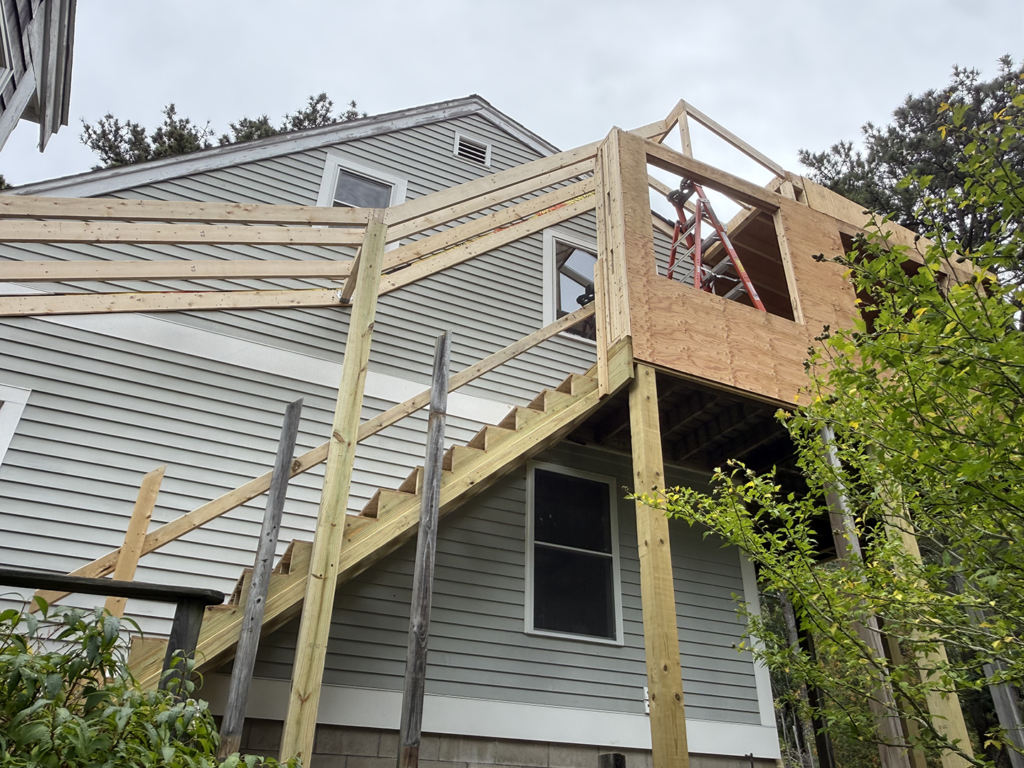
The roof rafters for the stair way -2 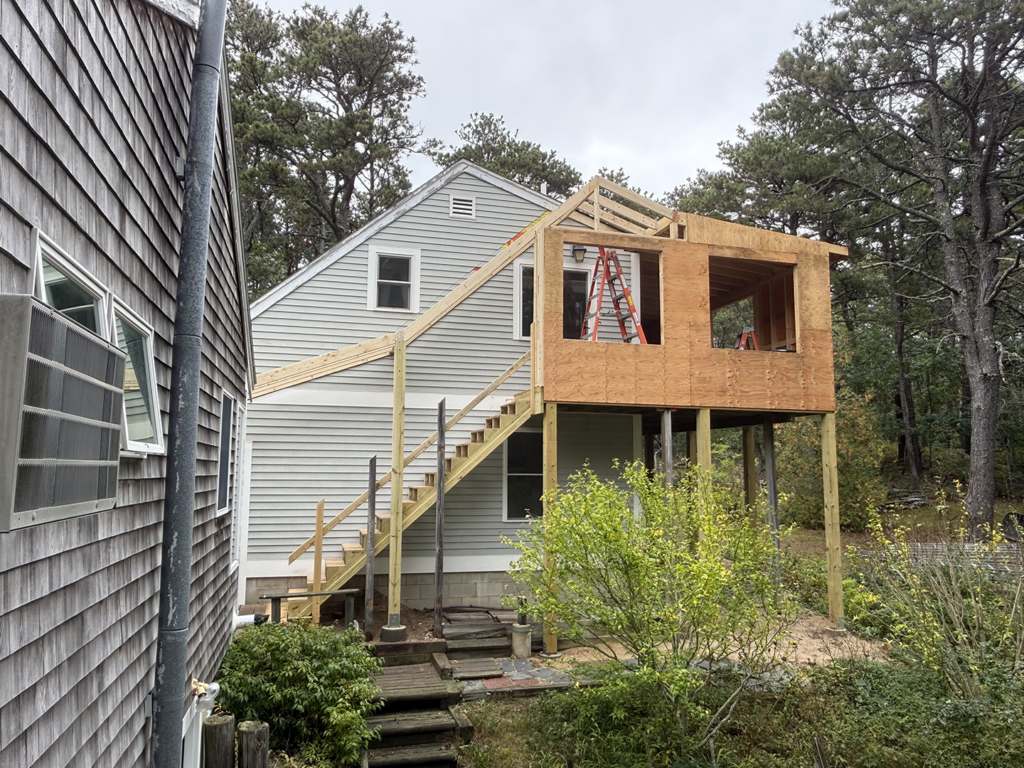
This will eventually be fully enclosed. You can see the new footing and post just below the bathroom window where the roof pitch changes 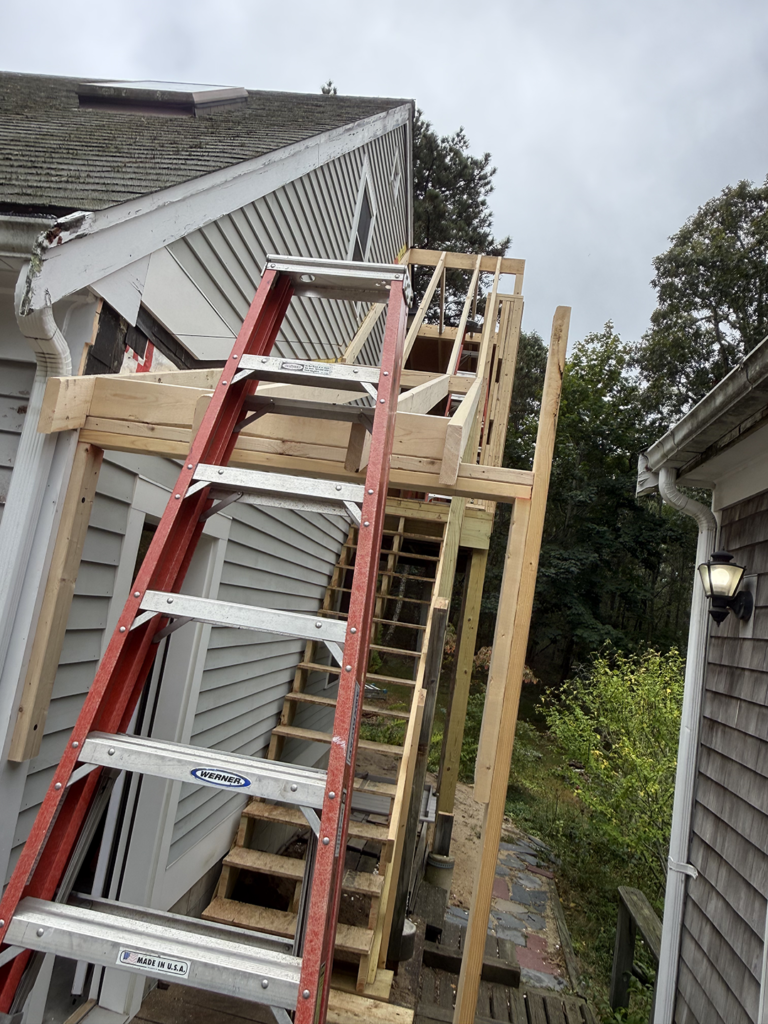
A different angle 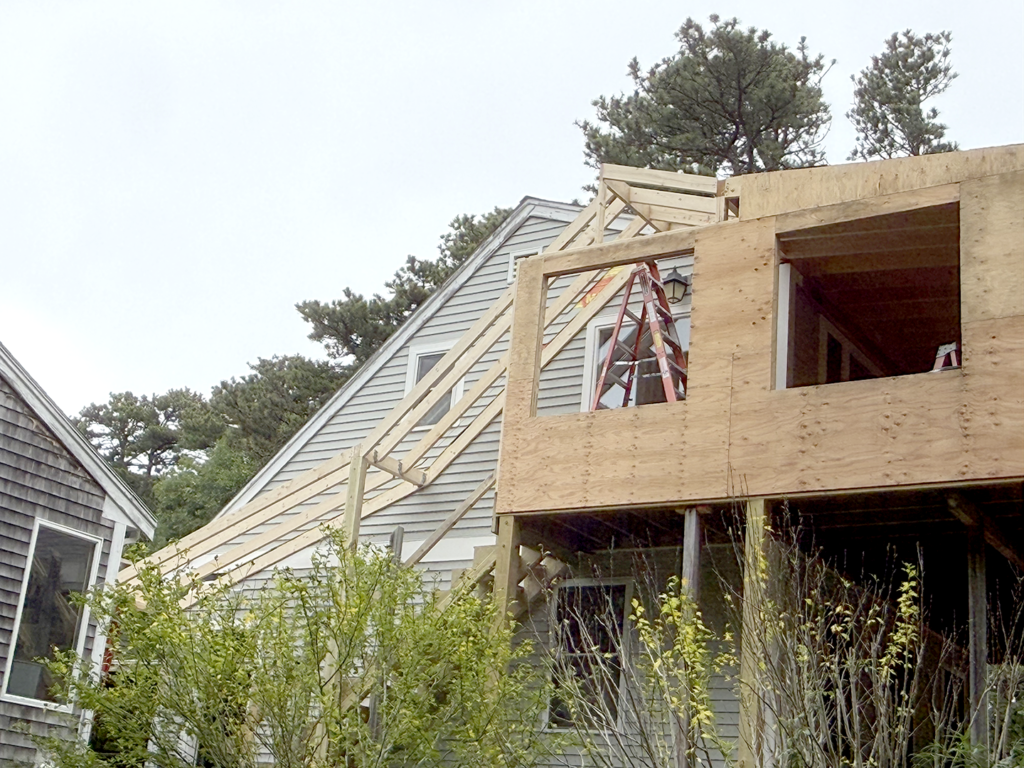
The angles of the roof line had to be engineered to keep the bathroom window above the roof, and the awning window inside the upper landing, under the roof 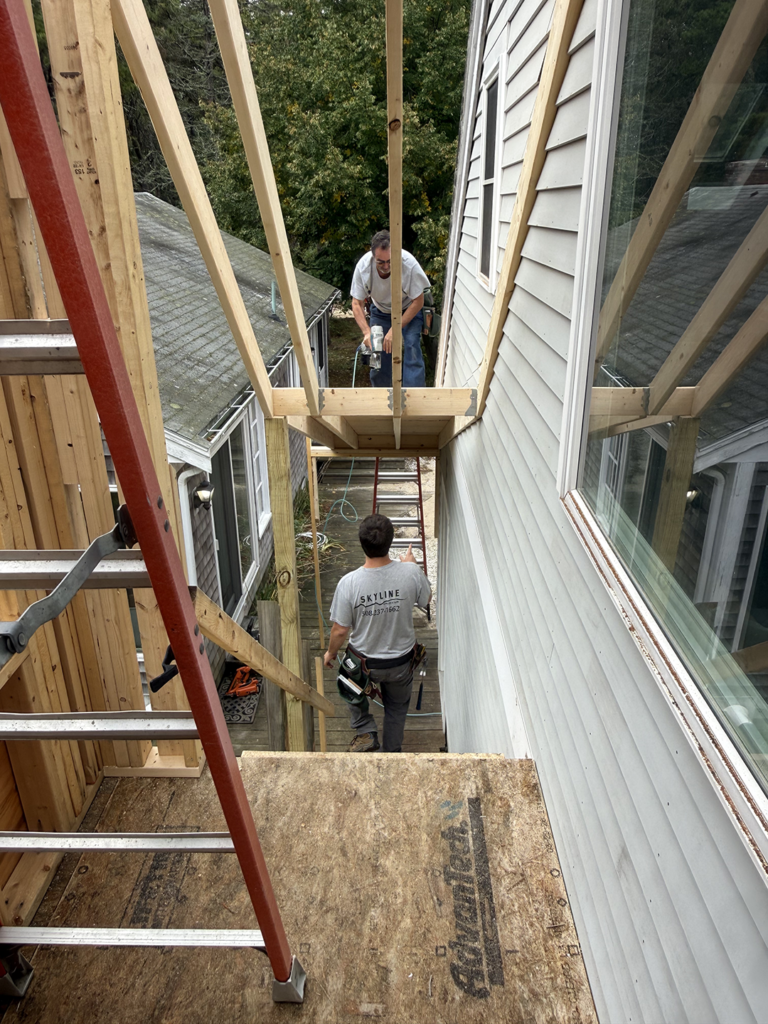
John Largey and son John teaming up to get it done 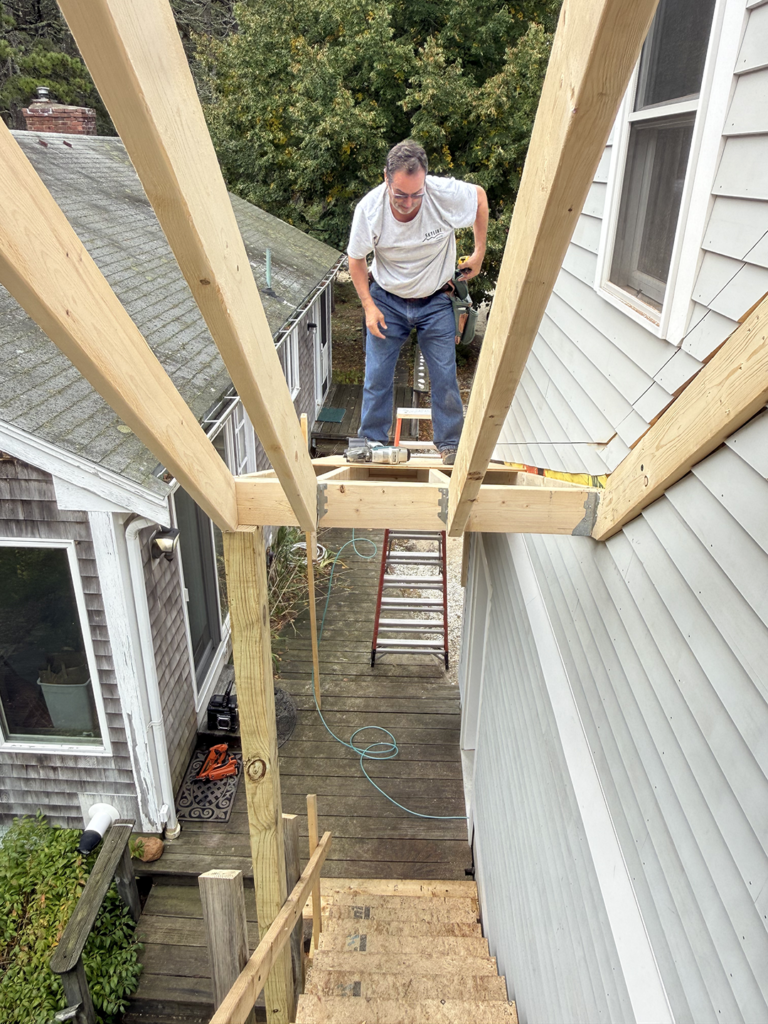
It’s like a giant jigsaw puzzle built on the fly 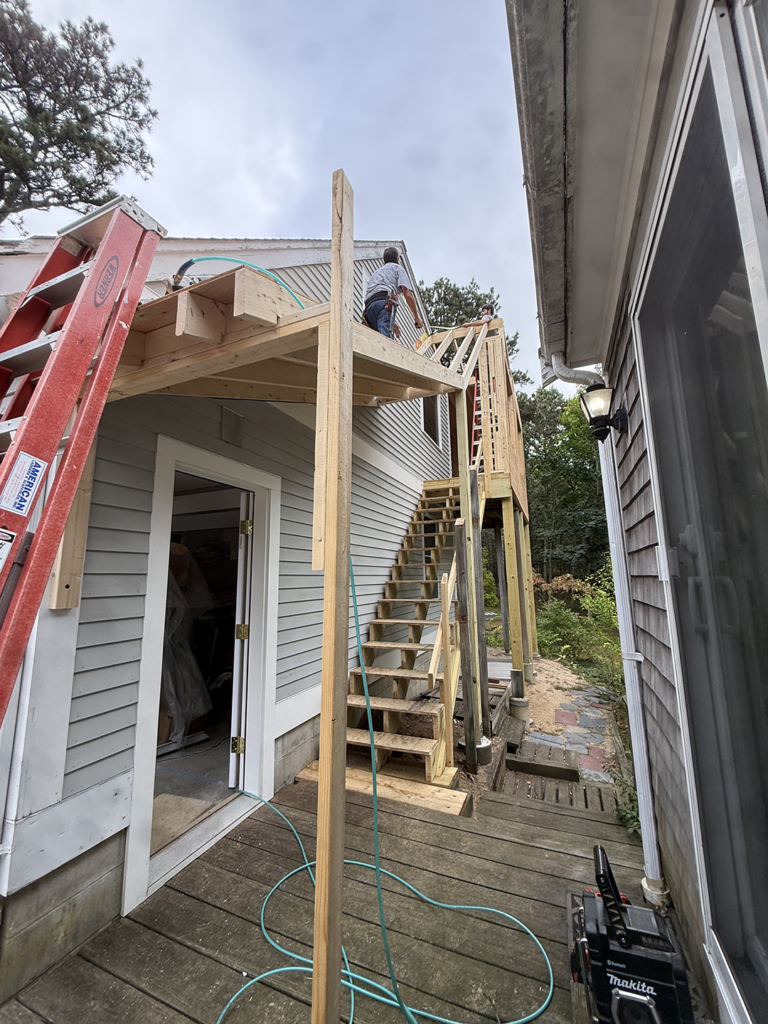
First plywood roof panels 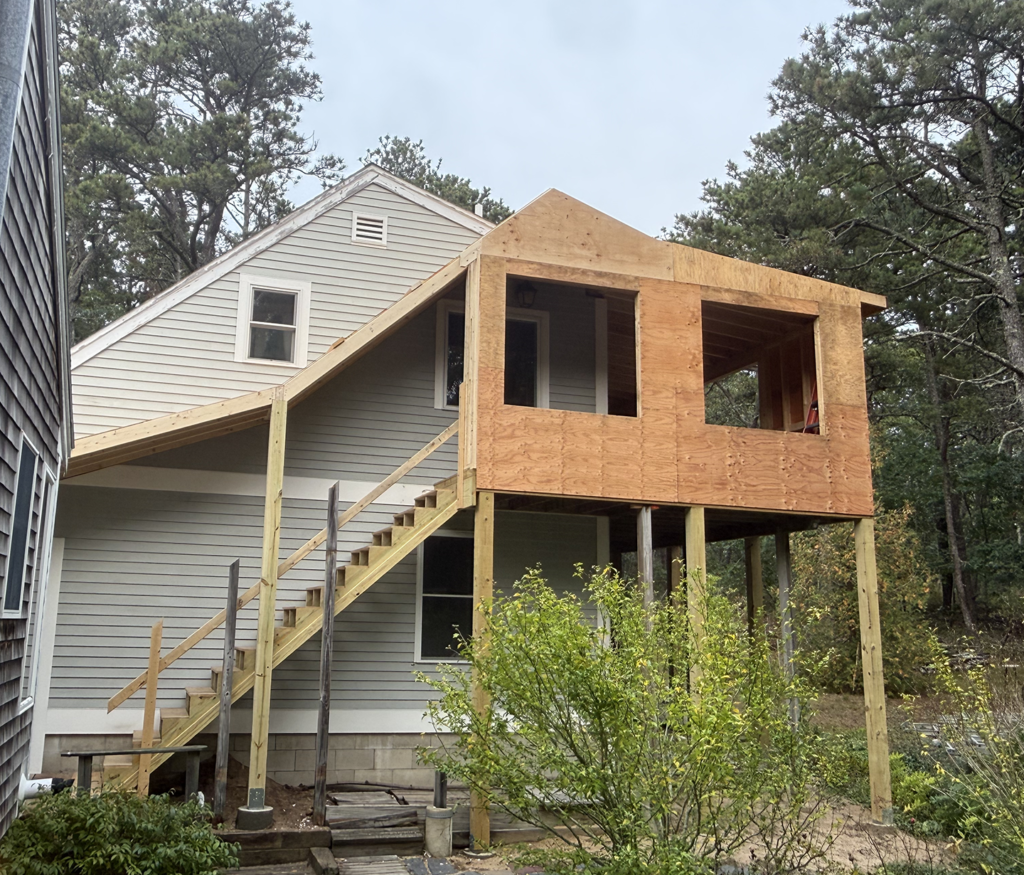
Top landing all boxed in – outside 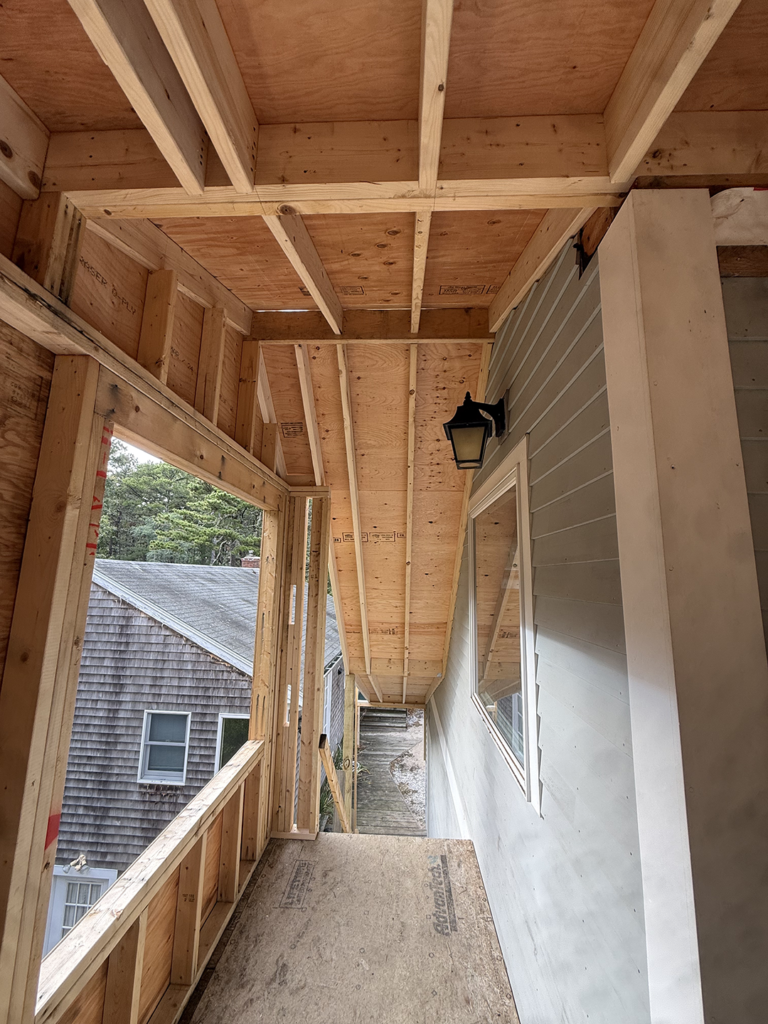
Top landing all boxed in – inside 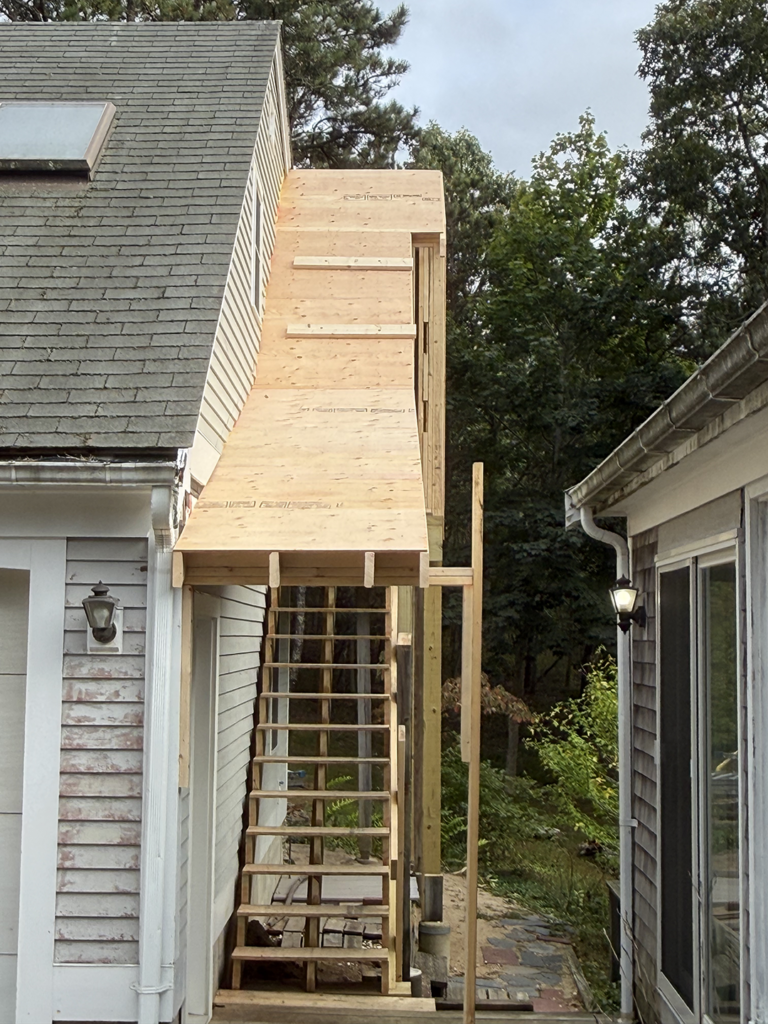
All in a day’s work 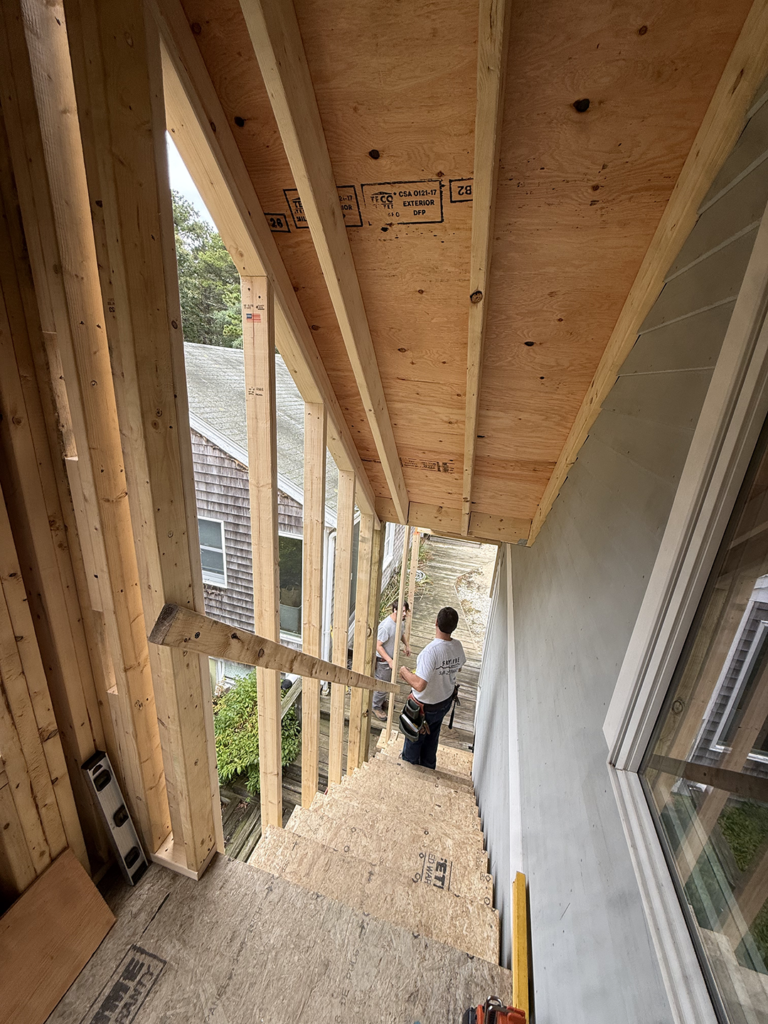
10.1.26 – The next major step is to build the exterior wall for the stairwell 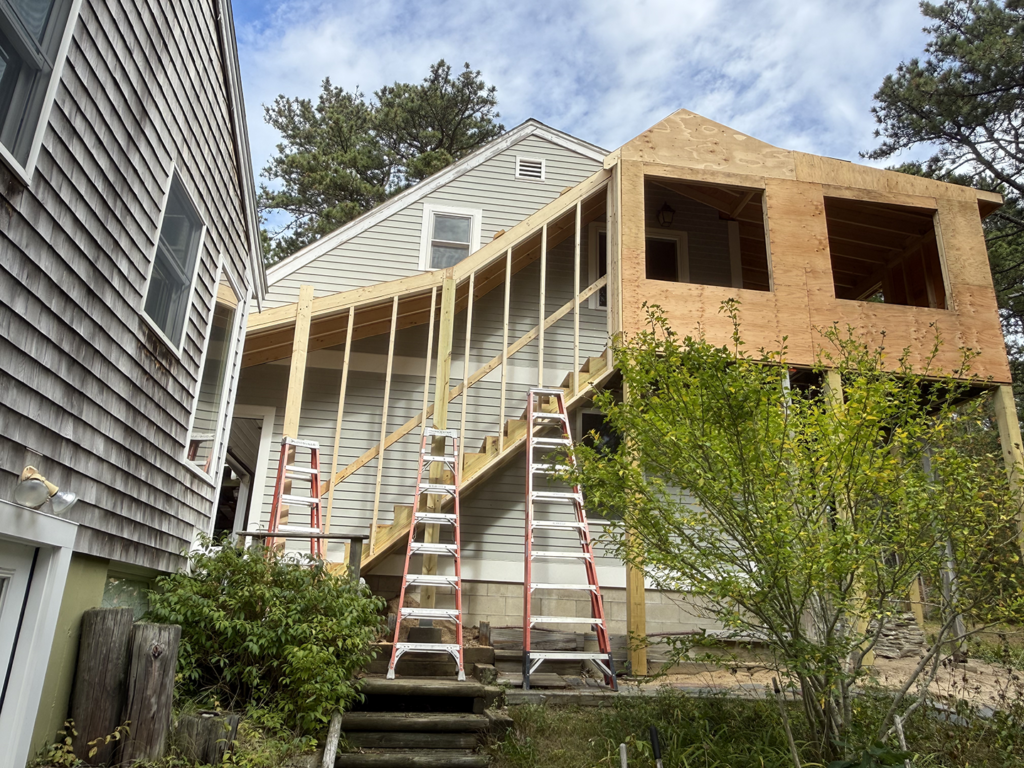
Here you can see all the studs for that wall. Each stud needed to be cut with its own individual measurements since each one is at a different place in a roof line with an expanding descending angle in relation to the fixed stringer angle. I think I got that right. 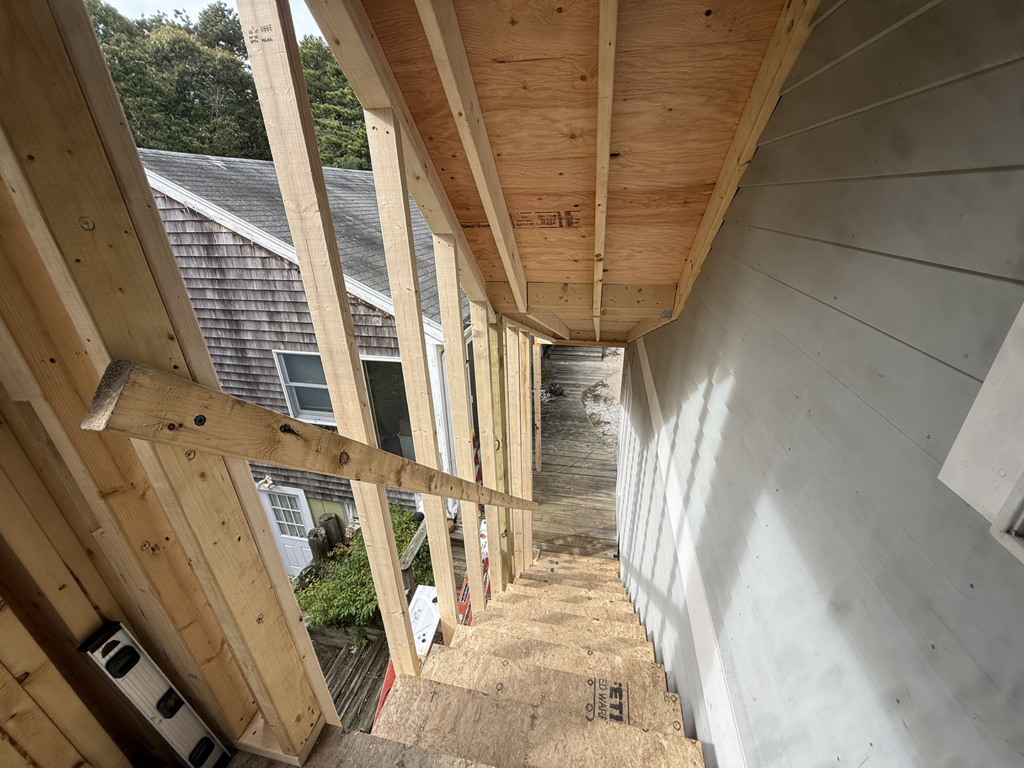
Same story from inside the stair well. 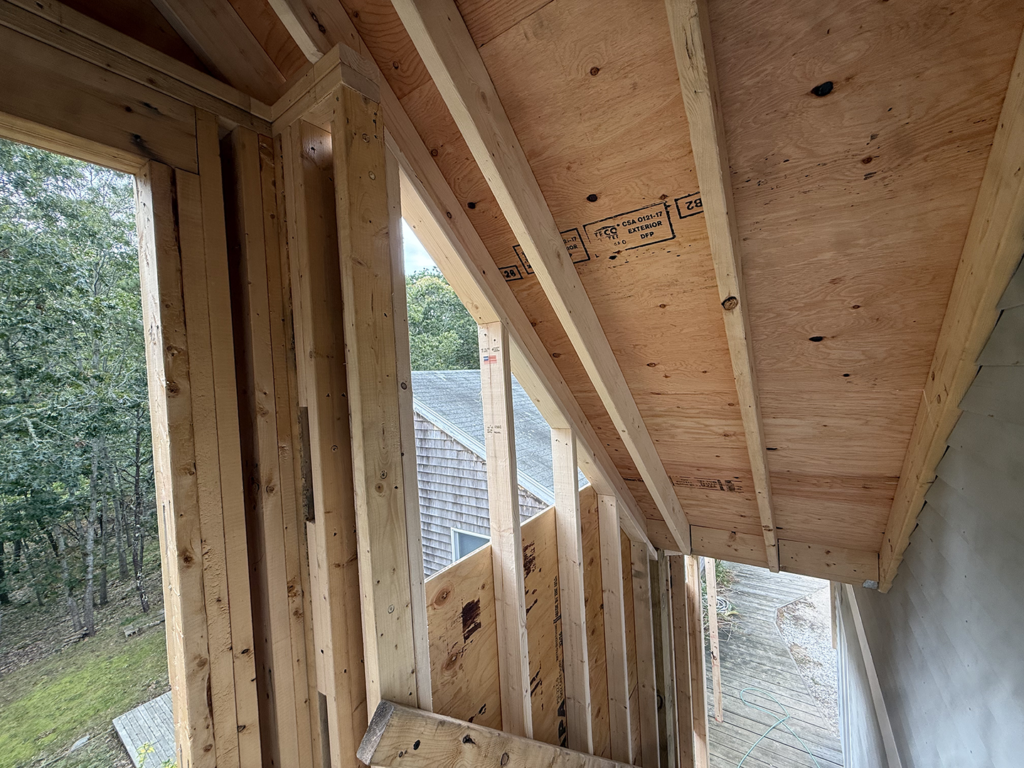
Exterior panels going in 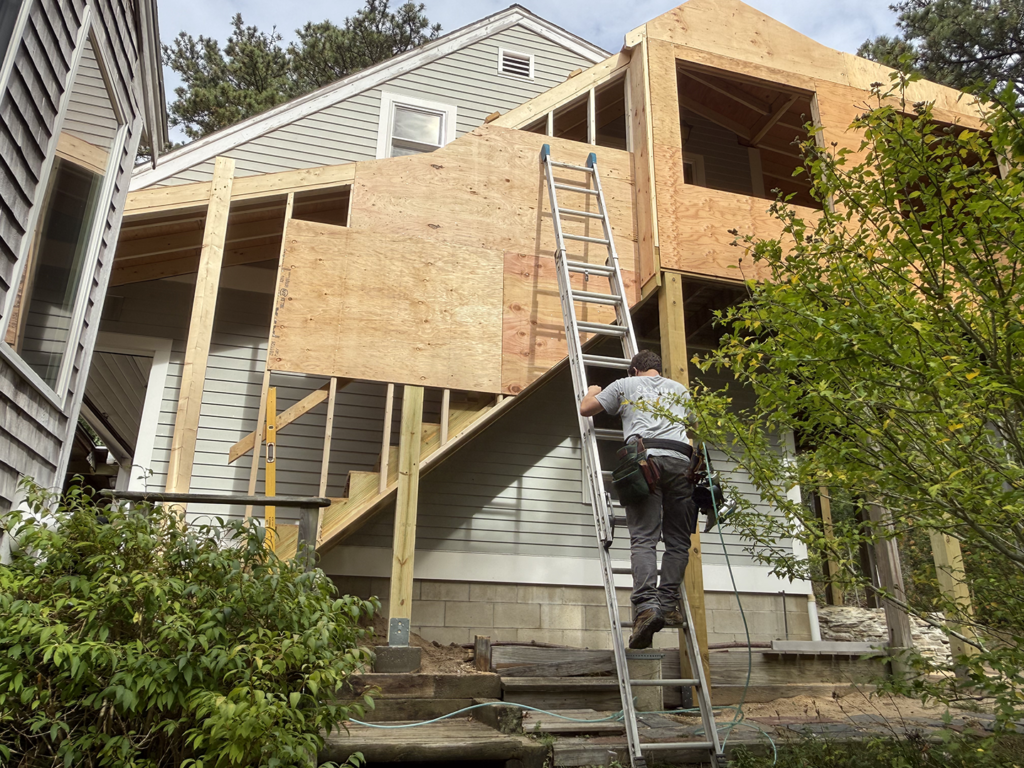
Almost done 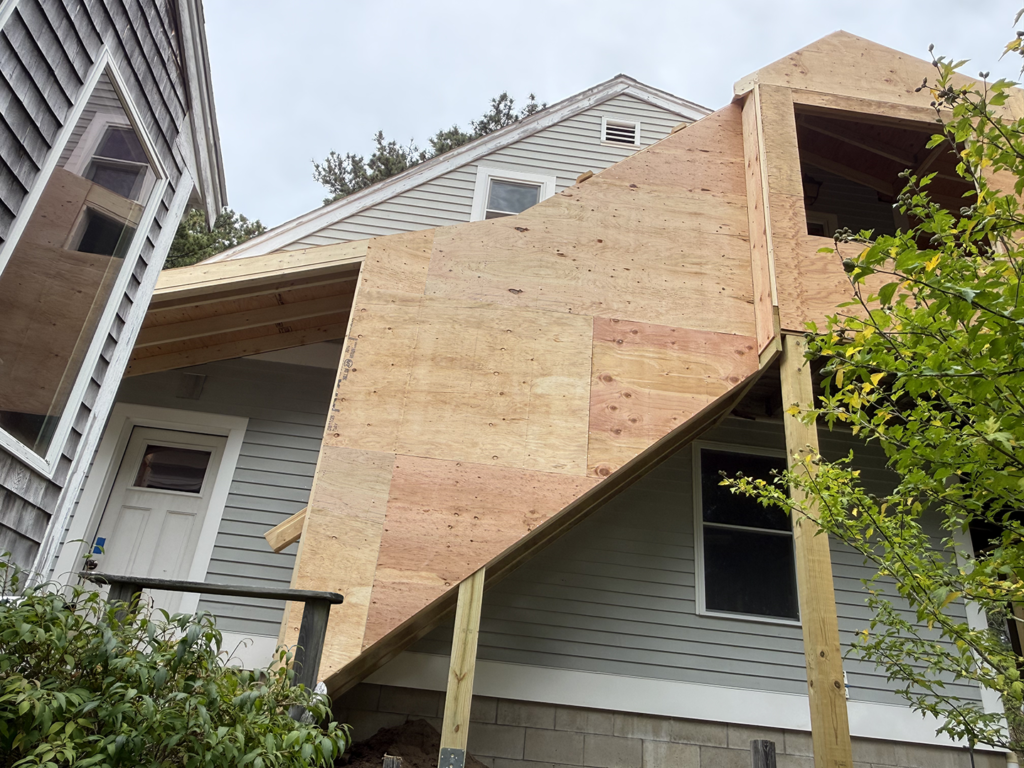
End of day with a little help from PS26